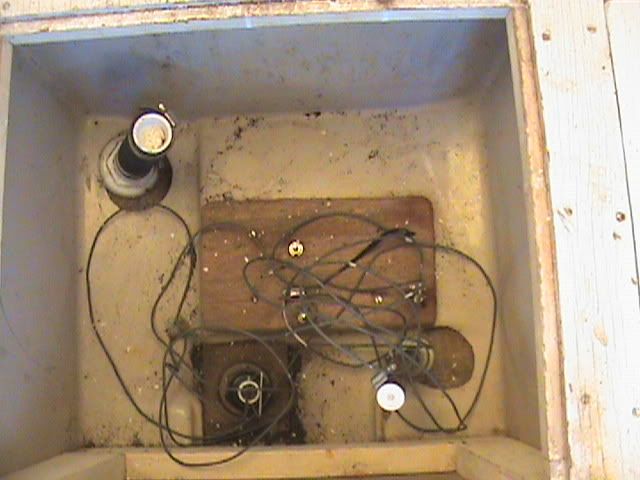
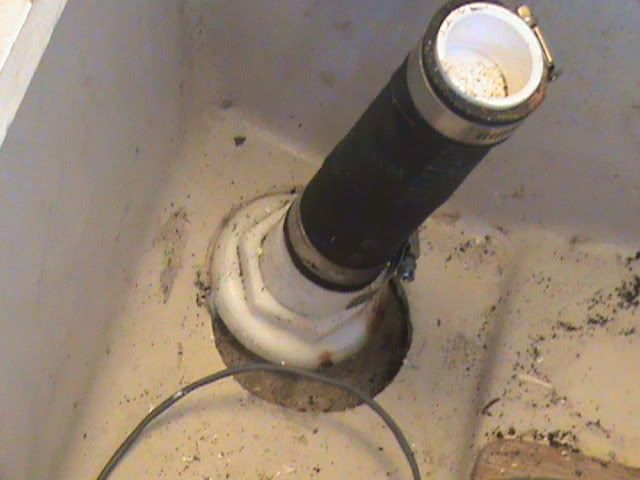
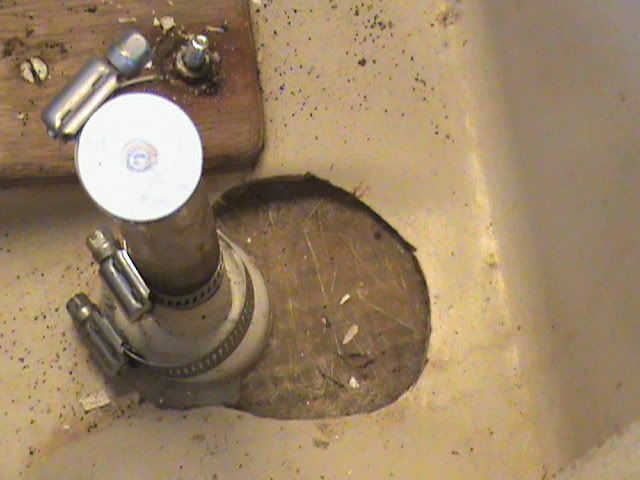
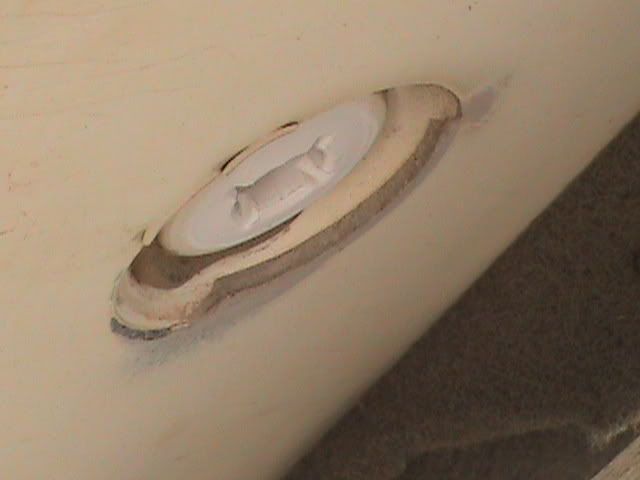
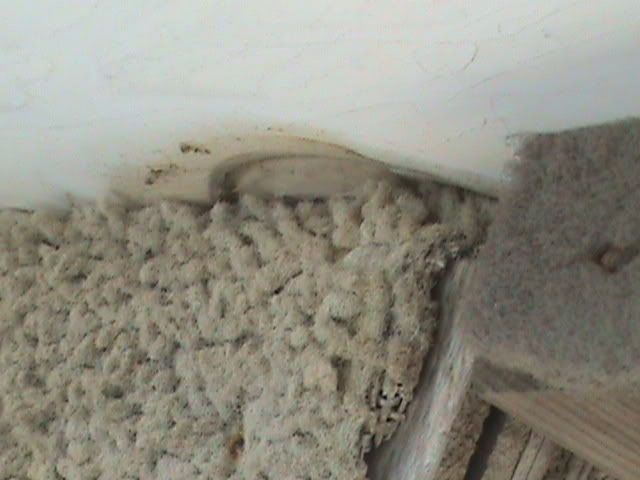
First up is the through-hulls that the P.O. put in in the head compartment of the v-berth. There are two plumbing through-hulls that look to me like he had originally either installed or planned to install an illegal in/out head, since there isn't anything like a holding tank anywhere inside. My plan at this point is to keep the knotmeter fitting, and remove the other two & just put a fiberglass patch over the holes. Question on that is, since it looks like there is a pan inside of the actual hull here, should my patch scarf be 8:1 for just the hull thickness, or should I go wider to account for the thickness of the inside layer?
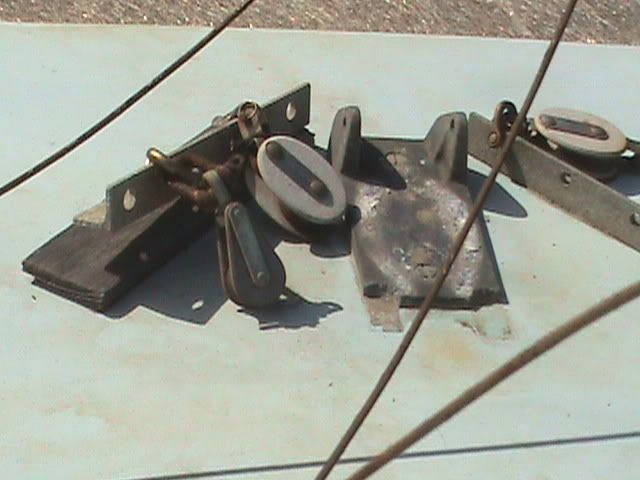
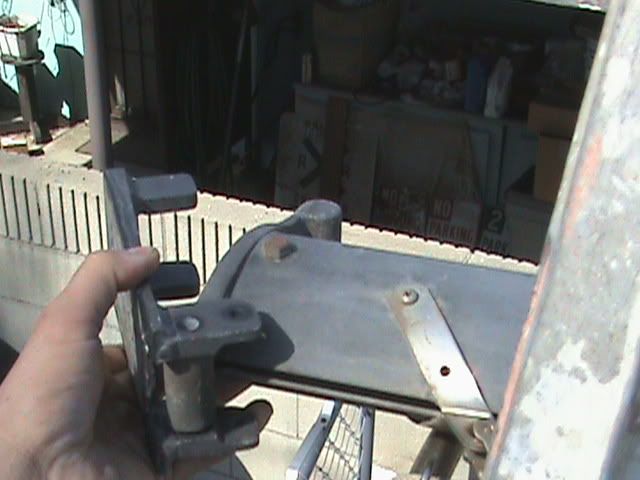
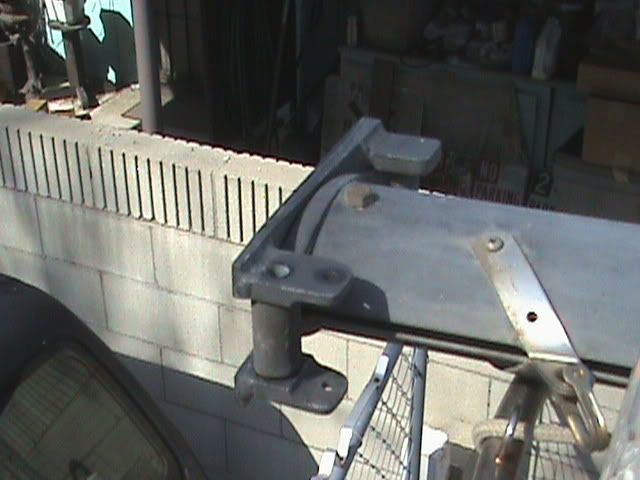
Next up is the mast step. The stock step broke when I was lowering the mast at the yard where I picked it up. I got a replacement that's ugly, but stronger than stock. The blocks were on a plywood plate that pulled up. I'm planning on installing a stainless plate under the step with mounting holes for the blocks to lead the control lines back to the bridge.
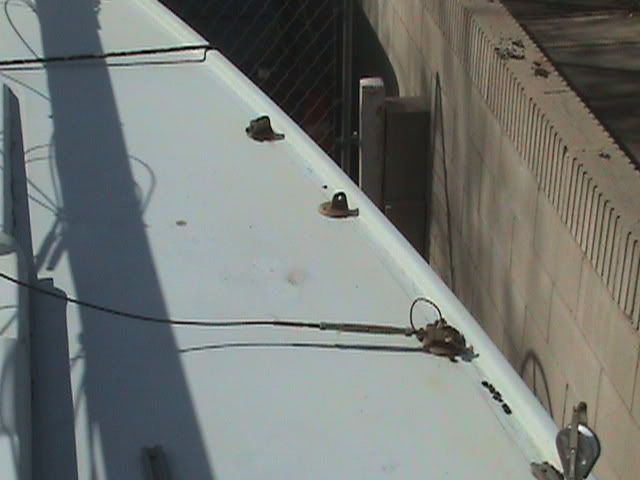
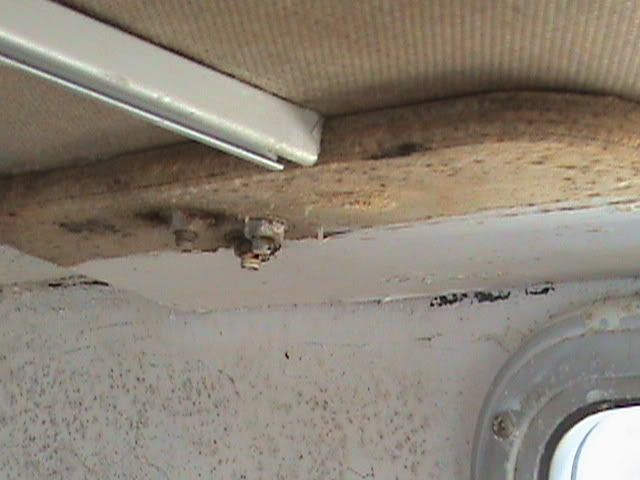
Finally, there's the backing plates, or rather the lack thereof. As you can see from these shots, the chainplates were the only things that had anything like a backing plate, and they're just plywood. Looks like stock, but I'm not sure. Plan is to cut stainless plates just large enough to cover the bolt pattern of each piece of deck hardware. First, here's the chainplates above and below.
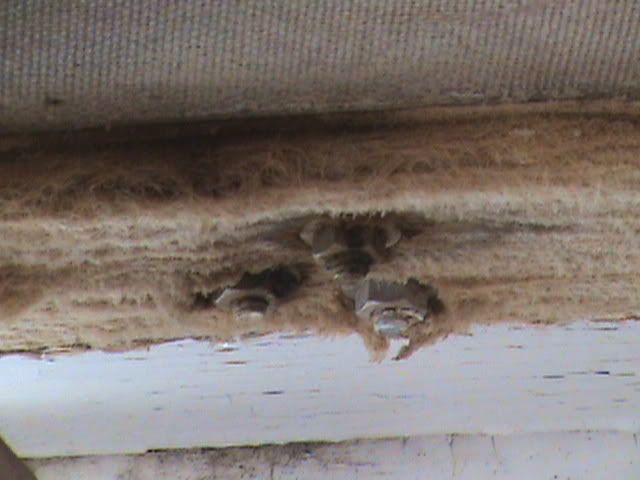
Stanchion/rail bolts.
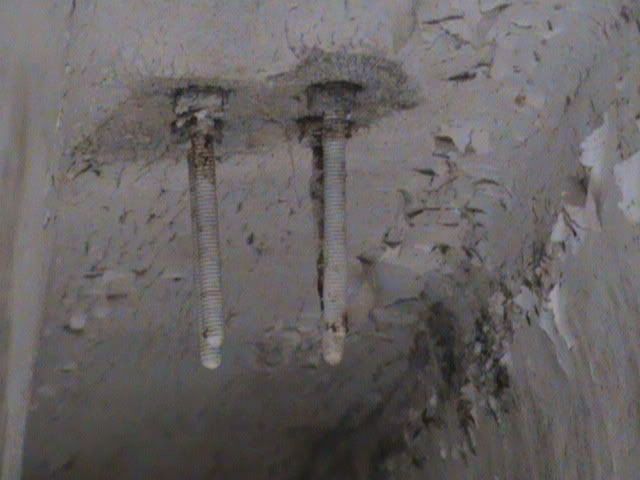
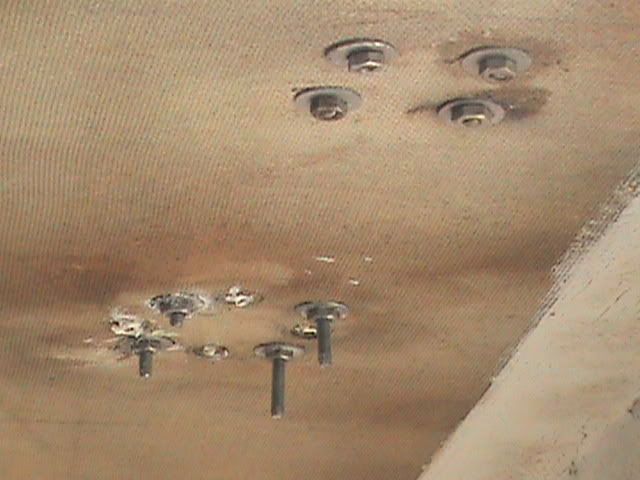
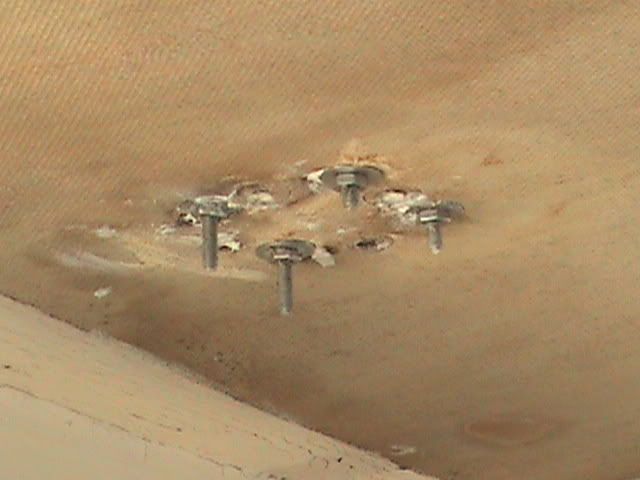
And would you believe that this is the backing for the winches!
The keel is fiberglassed over, which excludes it from racing (not really an issue for me), but unfortunately it looks like some water got under the fiberglass and started to rust the iron keel again. I'lll wire-wheel this down to bare metal, and re-glass over it after filling and fairing with epoxy & miroballoons.
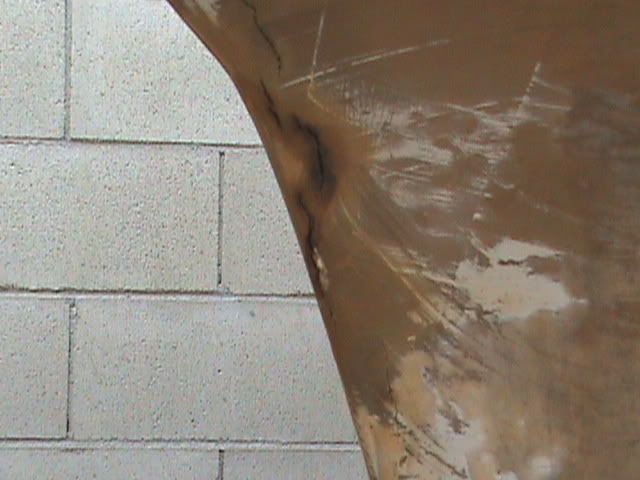
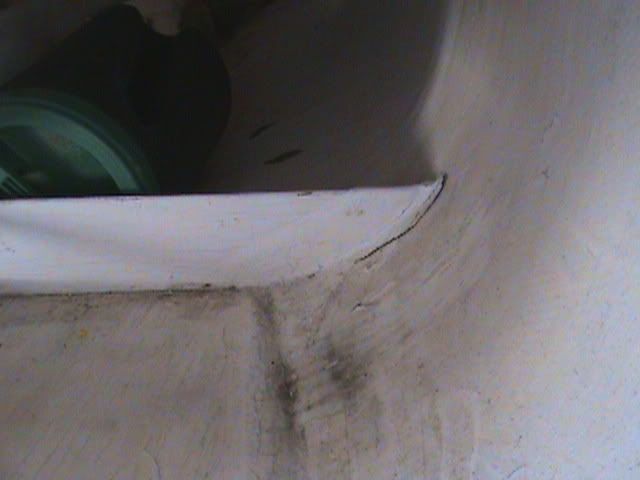
Lastly, there's a partial bulkhead under the cockpit sole that has come disconnected at one end. The wood doesn't seem to have any rot issues, so my first instinct is to just fill the gap with thickened epoxy and re-tab it into place.
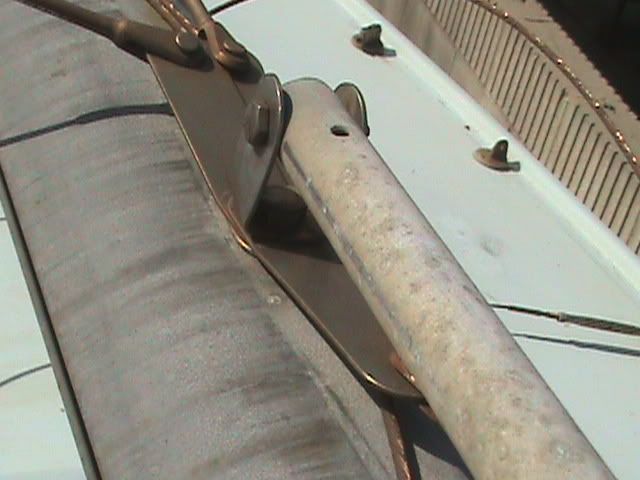
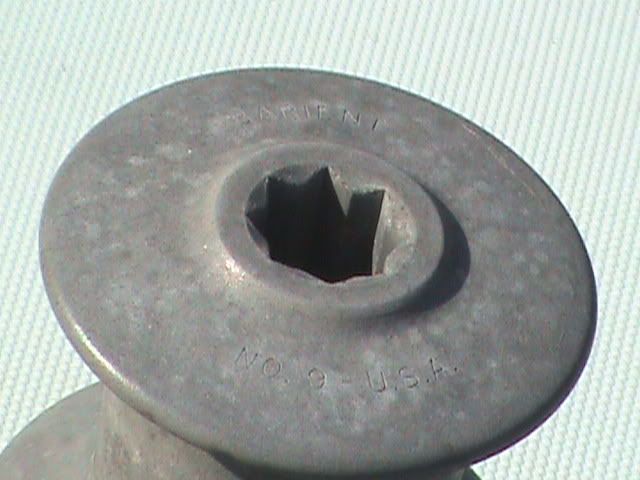
Finishing out, here's some shots of a spreader bracket that needs to be replaced (I'll probably just make one) and the Barient No. 9 winches, for which I can't seem to find any old manuals or diagrams online.

Have I worn out my welcome yet?

