Page 4 of 8
Re: Coronado 15 project.
Posted: Wed Nov 21, 2012 6:22 pm
by TampaBay
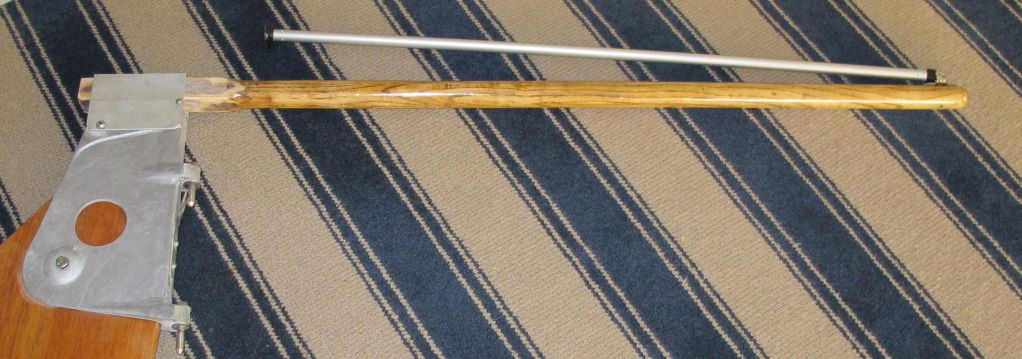
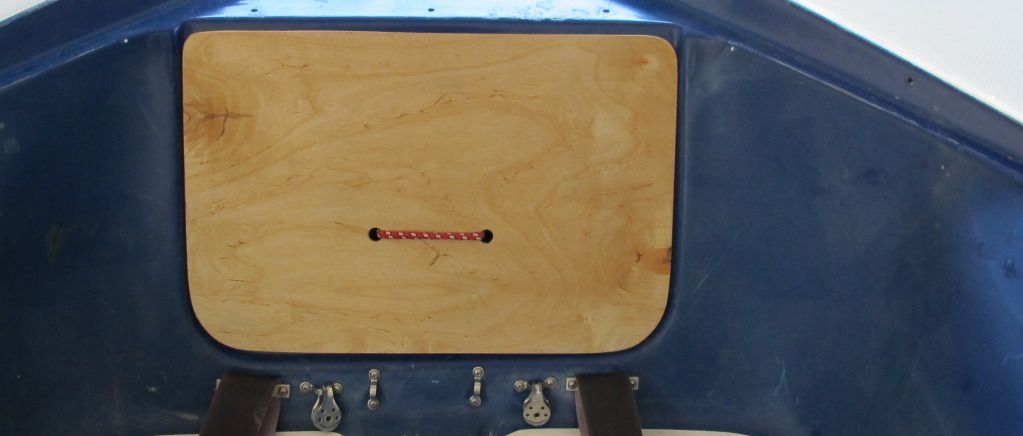
Tonight, I made this hatch from 1/4 inch birch ply. A bungee cord will loop through those holes, and around the forward bulkhead. The original hatch is heavy and complicated, and I'm not in a hurry to see it get scratched. Here, both sides of the birch ply are covered in wet epoxy.
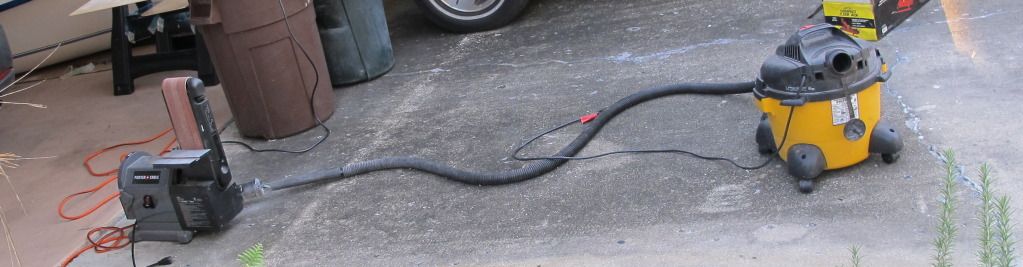
 Here is the dust collection system.
Re: Coronado 15 project.
Posted: Fri Nov 23, 2012 3:05 pm
by TampaBay
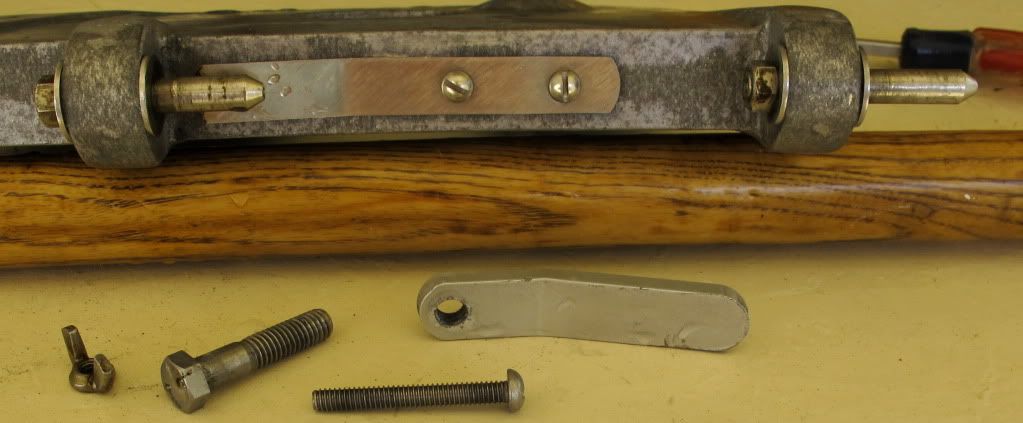
Epoxy was ground away from the square end of the tiller, and once again, it fits into the rudder casting. A new clevis pin from West Marine, and the rudder/tiller is reassembled.
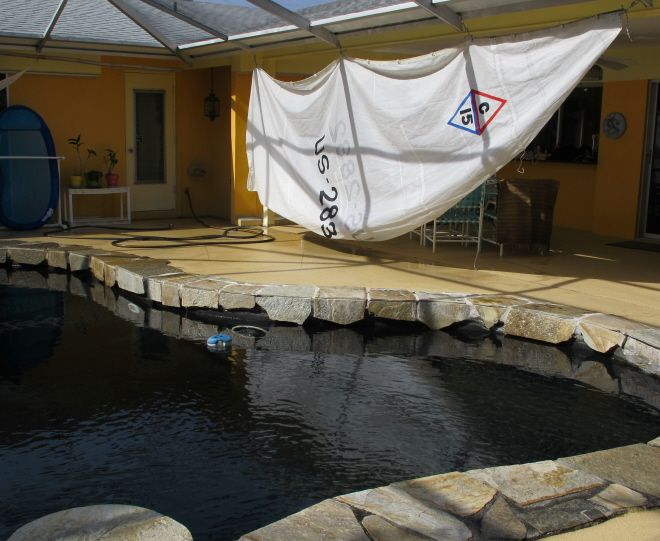
 The canvas-hook rivets were drilled away (14 in all,) the holes filled with epoxy and microfibers. The perimeter on this repair looks jagged, because I made the bevel with a large drill bit. What happened is, the bit grabbed into the fiberglass and pulled it apart. I changed to this grinding stone, on a Dremel. It made a clean bevel to hold new epoxy.
 Hiking straps reinstalled.

Re: Coronado 15 project.
Posted: Fri Nov 23, 2012 7:16 pm
by earlylight
It looks like launch time is fast approaching. Can't wait to see the finished product!
Re: Coronado 15 project.
Posted: Fri Nov 23, 2012 8:29 pm
by TampaBay
Tonight is homemade pizza night.

Re: Coronado 15 project.
Posted: Fri Nov 23, 2012 8:55 pm
by TampaBay
This is the new hatch (light and simple.)
 And the pizza is ready. Better than delivery? No question.

Re: Coronado 15 project.
Posted: Sat Nov 24, 2012 6:45 pm
by TampaBay
The trailer got a new set of lamps. Everything worked except, when I turned on the headlights, nothing happened trailer side.
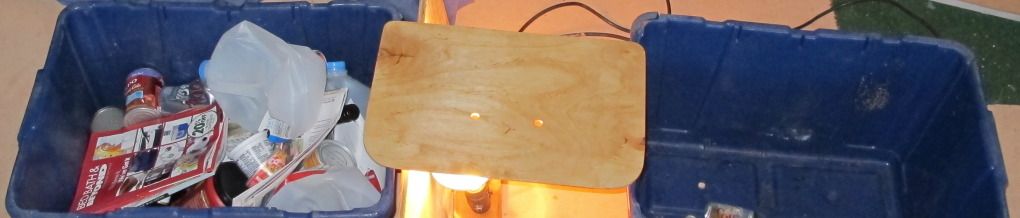
 The temp. is now 65, and slow-hardener takes extra time to cure (like all night.) So, after I wet sanded the first coat and laid down a second, I put a 75 watt flood lamp under the project.
Re: Coronado 15 project.
Posted: Tue Nov 27, 2012 12:11 pm
by TampaBay
(top to bottom) Old jib sheet, and new jib sheet. Old main sheet and new main sheet.
The original sheets are 7/16th, and they look a little "beefy" for a boat this size.

Re: Coronado 15 project.
Posted: Wed Nov 28, 2012 8:08 pm
by TampaBay
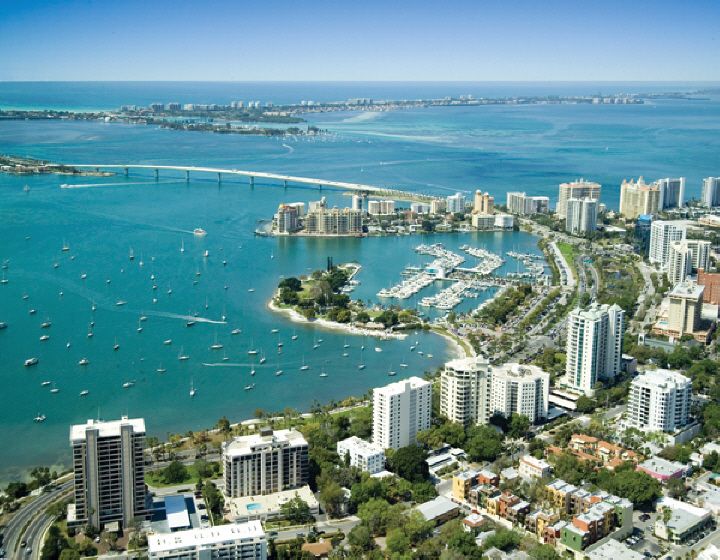
I spent the day sailing on Sarasota Bay. The wind was 5 to 10 knots from the South.
Great to finally get onto the water (celebrating with some wine.) Also, it's nice having a rose bush in the yard.)

Re: Coronado 15 project.
Posted: Fri Nov 30, 2012 12:12 pm
by TampaBay
The sail was awesome. I promised myself to sail more often than once every two years.
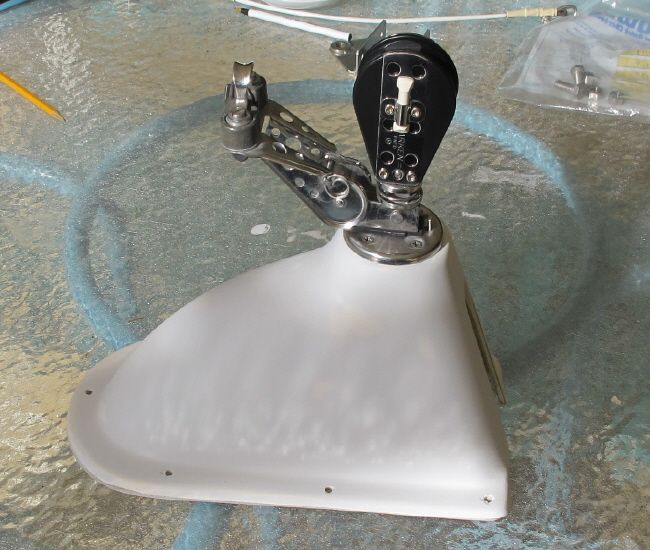
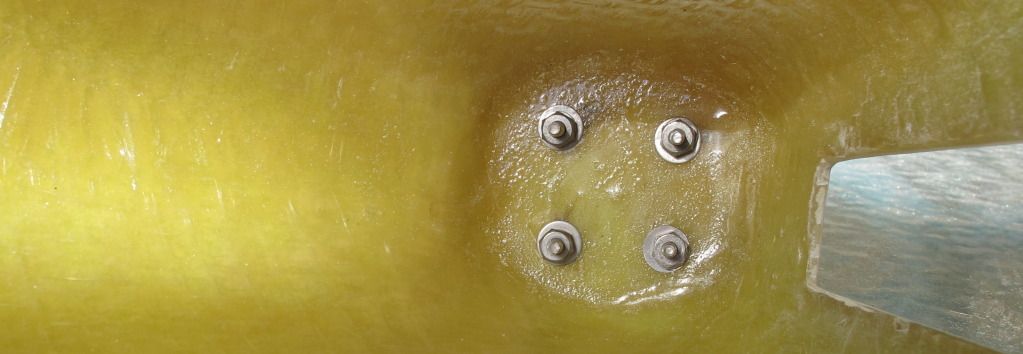
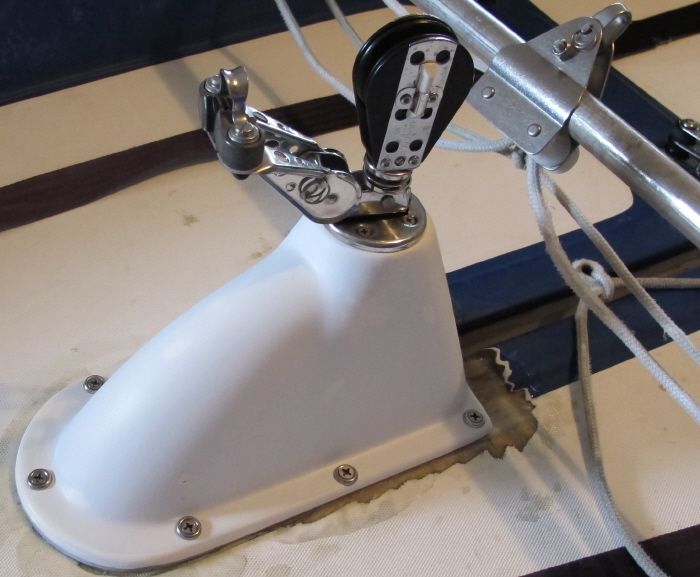
This broke: It pulled straight up and out. Seven 2" screws, fastened into a thin floor. Without going into detail, lets just say, it could have been built better (and now it will be.)
Barney post

Re: Coronado 15 project.
Posted: Sat Dec 01, 2012 2:00 pm
by TampaBay
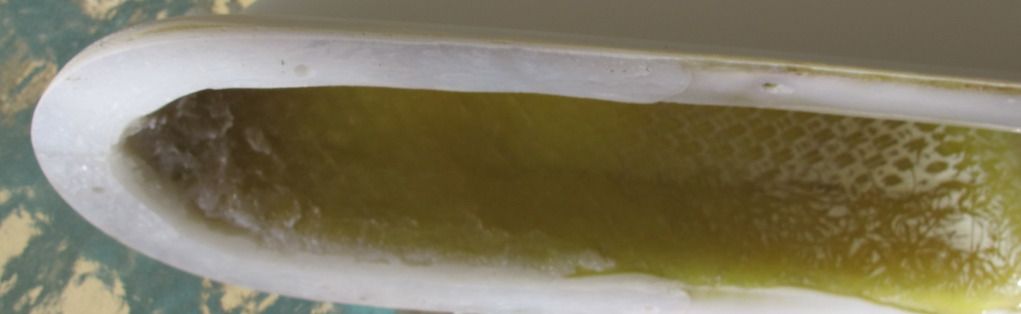
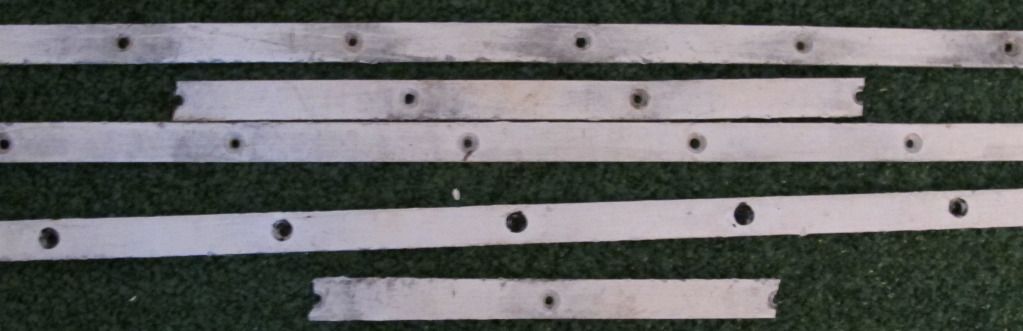
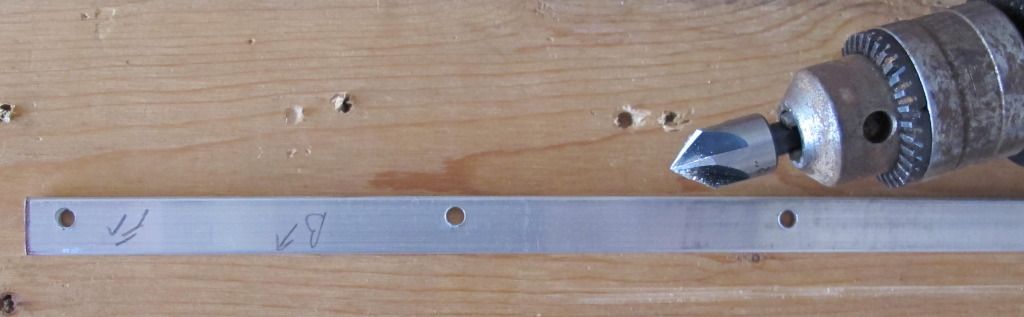
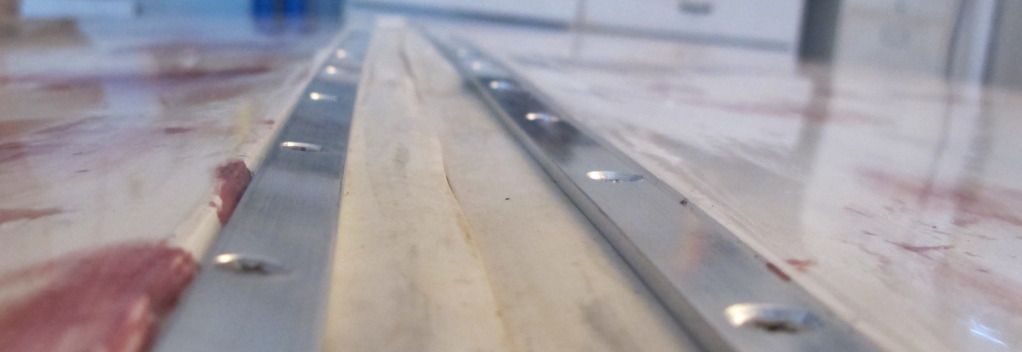
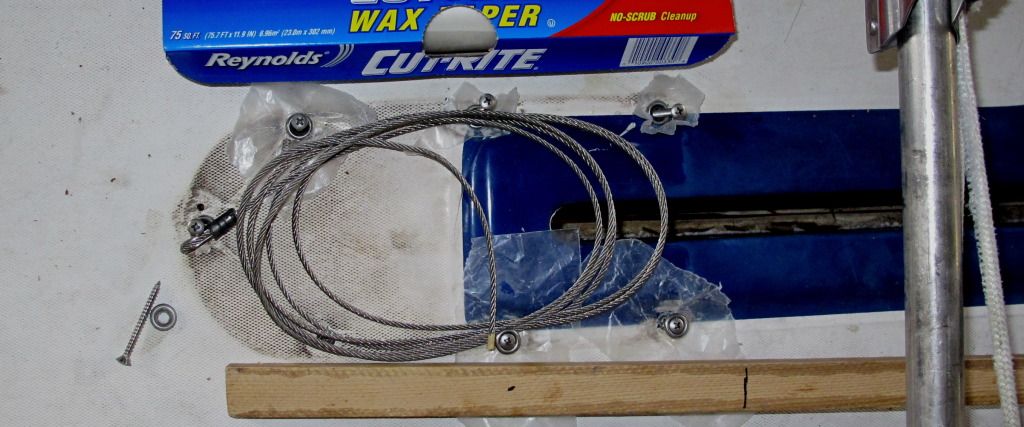
I snaked a cable through the center (side) holes and grabbed it's end at the hatch. There, I connected the cable into the center-hole of a block of wood (see black dot on the uncut piece,) and then covered the gluing surface with thick epoxy. When the cable was pulled back (it's like ice fishing,) the block lined up nicely.
Drill, fill with epoxy, and clamp in place with screws. There is a long block on each side, and one block center aft. The epoxy cured overnight, this morning I backed the screws out. One more top-off with epoxy, and this will be stronger than original.
Re: Coronado 15 project.
Posted: Tue Dec 04, 2012 12:49 pm
by TampaBay
Epoxy curing: Good time to buy new tools.
Plunge router, and a cordless electric screwdriver.

Re: Coronado 15 project.
Posted: Wed Dec 05, 2012 10:34 am
by TampaBay
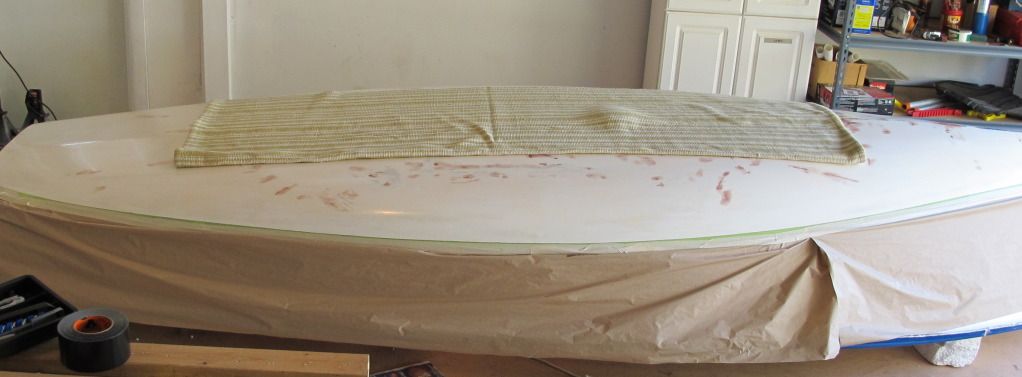
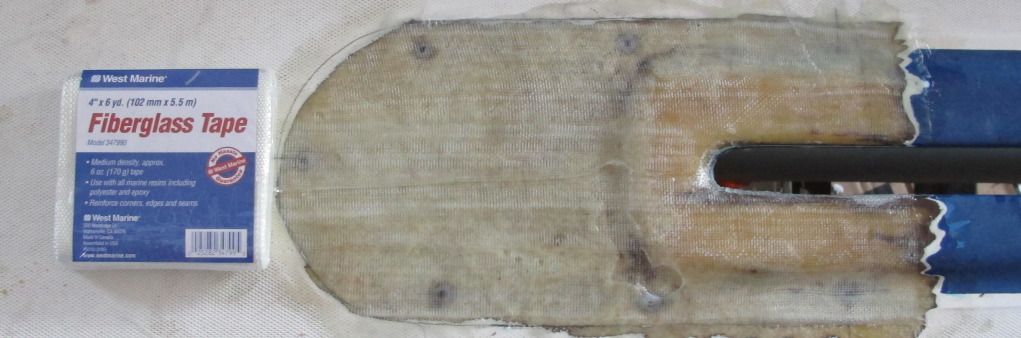
I ground the post area down to bare fiberglass, and laid on 2 sections of fiberglass tape. The tapes overlap in the center.
Re: Coronado 15 project.
Posted: Thu Dec 06, 2012 12:46 pm
by TampaBay
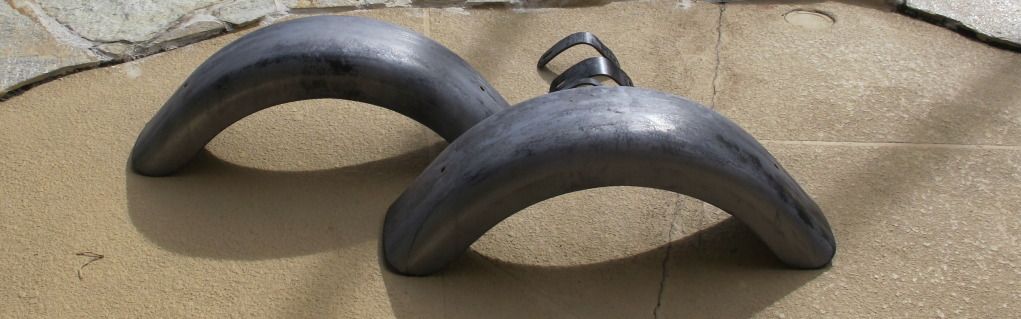
Does this look cool? I'm adjusting the fenders for maximum attitude.
Re: Coronado 15 project.
Posted: Thu Dec 06, 2012 12:55 pm
by TampaBay
Fenders and brackets, stripped and coated with Ospho.
Re: Coronado 15 project.
Posted: Fri Dec 07, 2012 6:28 pm
by TampaBay
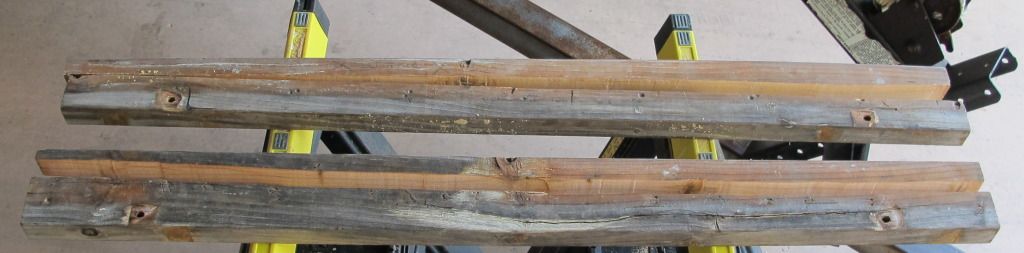
The trailer bunks were straight 4' 2x4's. I wanted a rail that matched the hull's shape, so I tried to shape it with a hand saw. That was fun, but didn't work worth a dam.
Two nice boards into scrap pile.
Re: Coronado 15 project.
Posted: Fri Dec 07, 2012 6:38 pm
by TampaBay
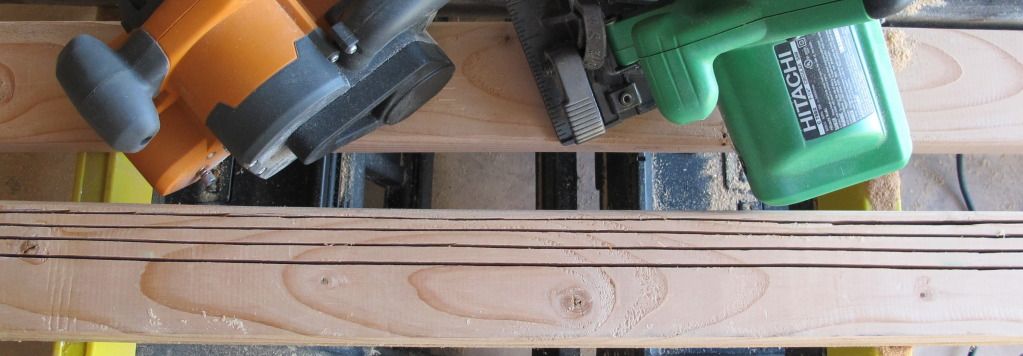
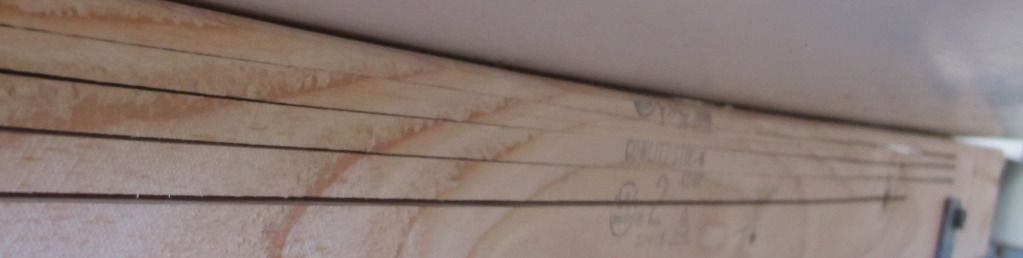
Bought new lumber and cut along it four times with the circular saw; kept the cuts short of the ends. With a belt sander I took off the inside (in relation to boat) top corner (that edge is just below middle of image.)
Re: Coronado 15 project.
Posted: Fri Dec 07, 2012 6:56 pm
by TampaBay
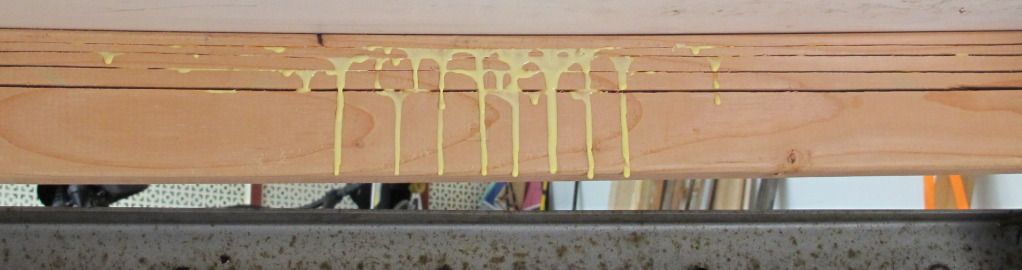
The rail compresses, as the hull's weight distributes over a wider area (this is port side looking aft.) I'll spread glue through the kerfs to hold the board in this position.
Re: Coronado 15 project.
Posted: Fri Dec 07, 2012 10:57 pm
by TampaBay
Where the hull worked against he stiff edged 2x4, I will fair in a later step.
Re: Coronado 15 project.
Posted: Mon Dec 10, 2012 11:28 am
by TampaBay
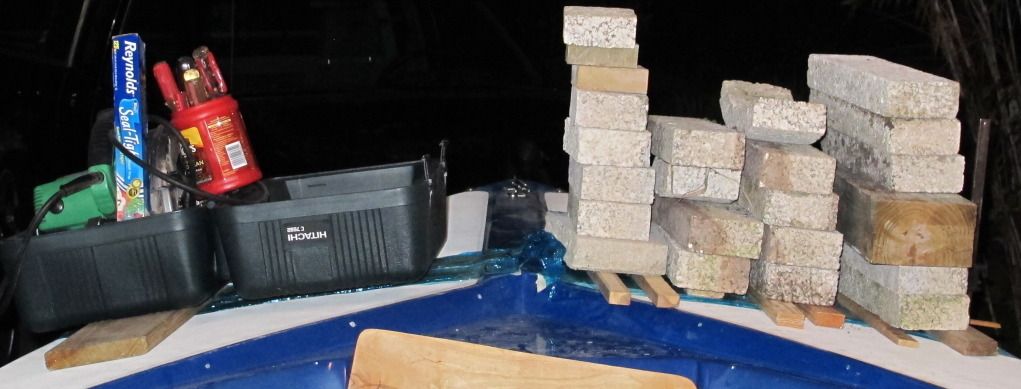
Deck repair: Removing the fore deck, left a long open seam. I removed some core, filled the space with epoxy (and a wooden batten on starboard side,) and held it flat with a pile of landscaping stones.The port side required much less work. Under the deck is a 75 watt heat lamp.
Re: Coronado 15 project.
Posted: Wed Dec 12, 2012 6:56 pm
by TampaBay
What are these brass drains called?

Re: Coronado 15 project.
Posted: Fri Dec 14, 2012 11:10 am
by TampaBay
It's a transom drain tube (took plenty of Google searching.)
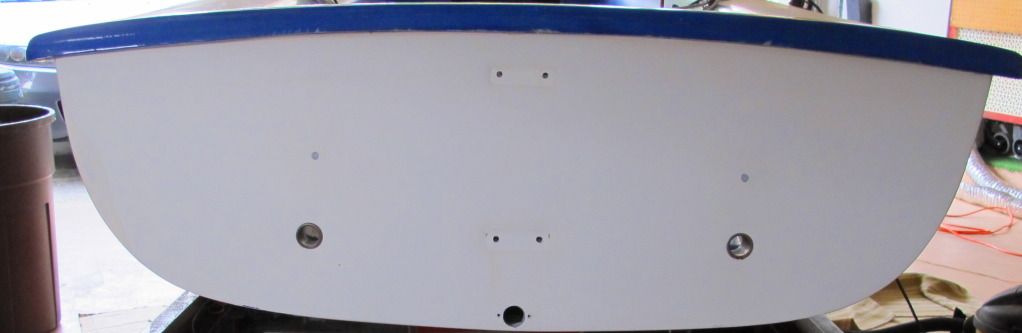
Transom is looking better.
Before:
 After: Removed hardware and the broken rub rail. Bought a new drain plug and new SS fasteners for the rudder gudgeons.
Re: Coronado 15 project.
Posted: Fri Dec 14, 2012 11:20 am
by earlylight
Wow, looking good. Are you going to replace the broken rub rail you removed?
Re: Coronado 15 project.
Posted: Fri Dec 14, 2012 12:33 pm
by TampaBay
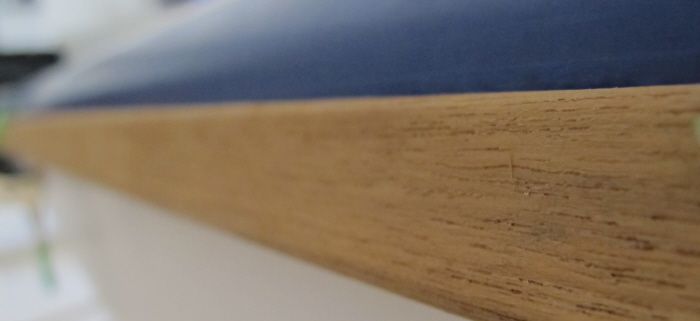
I really don't want to, so that project will wait, but eventually yes. I have an L-shaped piece of teak that gives me ideas.
I'm wrapping up current projects and, preparing for some sailing over the holidays.
Re: Coronado 15 project.
Posted: Fri Dec 14, 2012 1:24 pm
by earlylight
Great, enjoy your holiday sailing, I'm envious.
Re: Coronado 15 project.
Posted: Fri Dec 14, 2012 2:23 pm
by CapnK
TampaBay wrote:The rail compresses, as the hull's weight distributes over a wider area (this is port side looking aft.) I'll spread glue through the kerfs to hold the board in this position.
Really interesting idea there - I like it! :) Congrats on the sail! I might have to bust out the wetsuit and the Sunfish soon, just to "get a fix".
Re: Coronado 15 project.
Posted: Sat Dec 15, 2012 11:35 am
by TampaBay
Thanks CapnK. I'll get those bunks finished, and put up an image later today (if all goes well.)
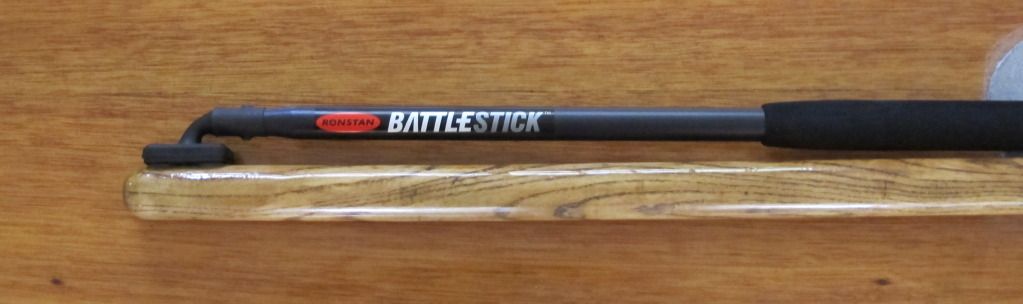
Yesterday, I installed a new tiller extension.
Re: Coronado 15 project.
Posted: Sat Dec 15, 2012 3:05 pm
by TampaBay
Check it out. The glue is Titebond 2 (yes, I did clean it up.)
Re: Coronado 15 project.
Posted: Wed Dec 19, 2012 12:07 pm
by TampaBay
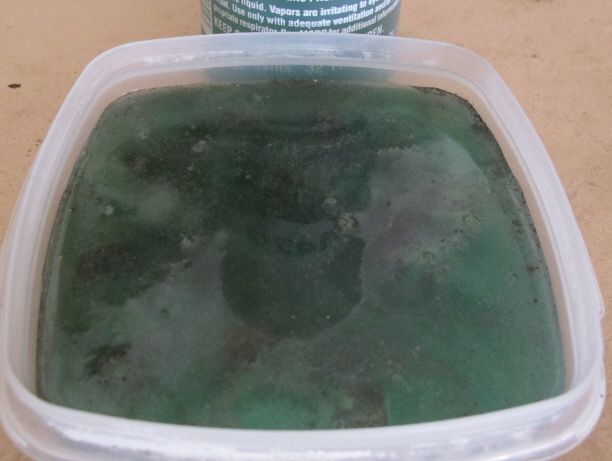
Trailer was treated with Ospho brand rust inhibitor (see green bottle in lower right.)
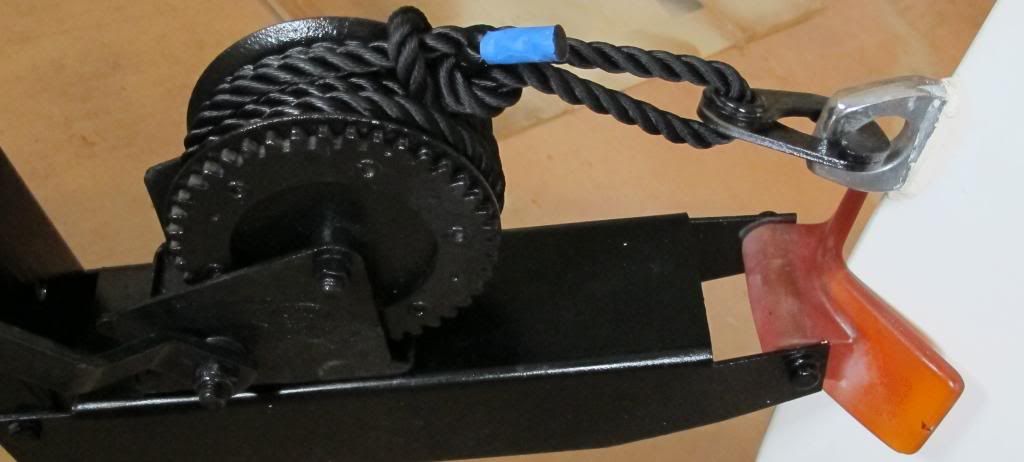
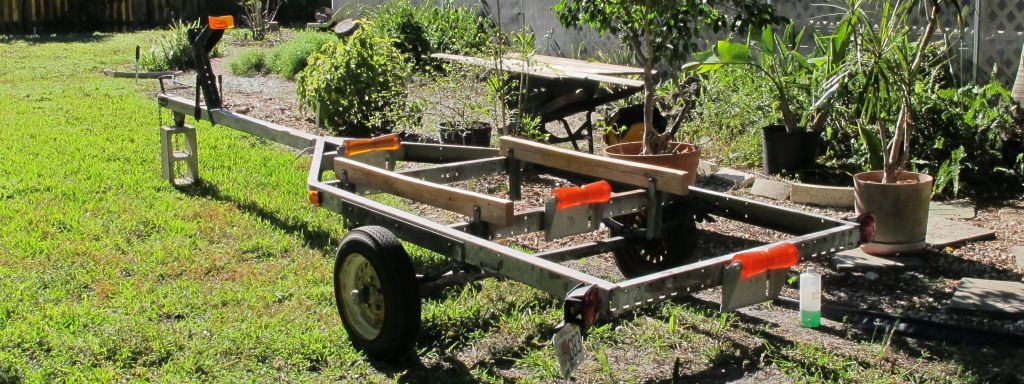 Trailer parts are drying in the sun. Ospho treatment, primer and paint. Left to right: Fender, fender, winch, brackets, and the bow eye clasp.
 Hull turned over for wet sanding and center board gasket re-install.

Re: Coronado 15 project.
Posted: Wed Dec 19, 2012 4:59 pm
by TampaBay
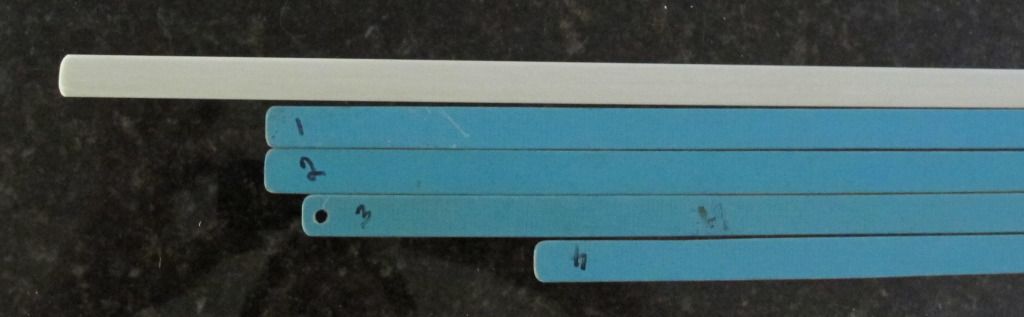
I rolled into Knighton Sails today, and bought a new #1 batten (the white one.)
http://www.knightonsailmakers.com
Re: Coronado 15 project.
Posted: Fri Dec 21, 2012 1:41 pm
by TampaBay
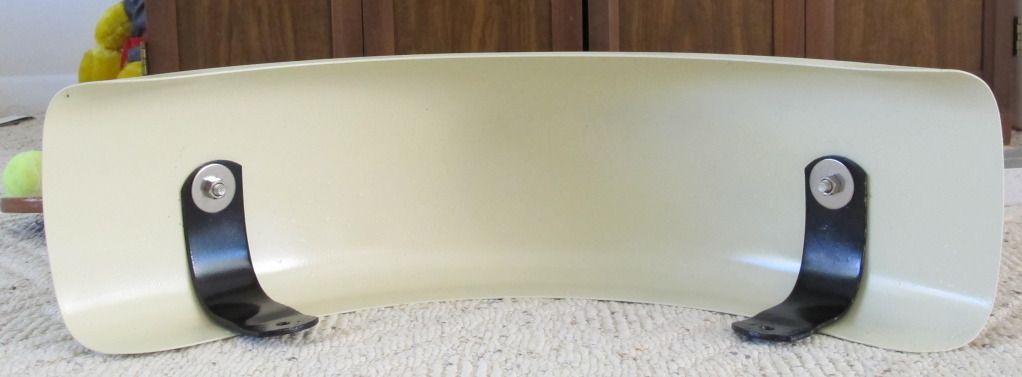
The color is subtle: The fenders are painted almond (Rustoleum.) The brackets are gloss black, with new stainless bolts and washers.
Re: Coronado 15 project.
Posted: Fri Dec 21, 2012 11:19 pm
by earlylight
Nice job on those fenders. By the look of them you must have sprayed them. When I rebuilt a trailer for my one designs I glued an old inner tube to the under side of the fenders with contact cement. It kept stones from chipping the paint which leads to rust (especially if you launch in salt water a lot).
Re: Coronado 15 project.
Posted: Sun Dec 23, 2012 12:36 pm
by TampaBay
It's a good idea. Something has be done on the underside of the fenders.
Once again, I've come to the point were boat and trailer parts are strewn around the house, the yard, and the garage. The plan for today is to get everything back together.
Re: Coronado 15 project.
Posted: Sun Dec 23, 2012 1:53 pm
by TampaBay
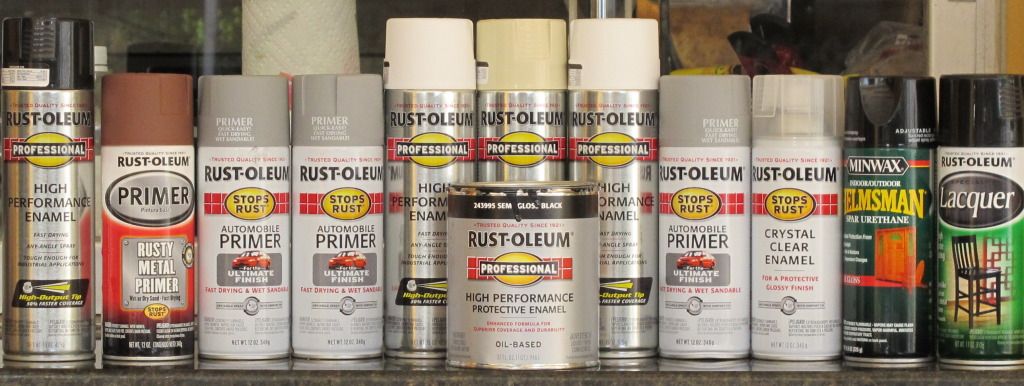
Buy stock in Rustoleum.
Re: Coronado 15 project.
Posted: Sun Dec 23, 2012 8:50 pm
by TampaBay
I returned the hull, from the side yard to the garage, and troweled filler into the low spots.
Re: Coronado 15 project.
Posted: Thu Dec 27, 2012 2:51 pm
by TampaBay
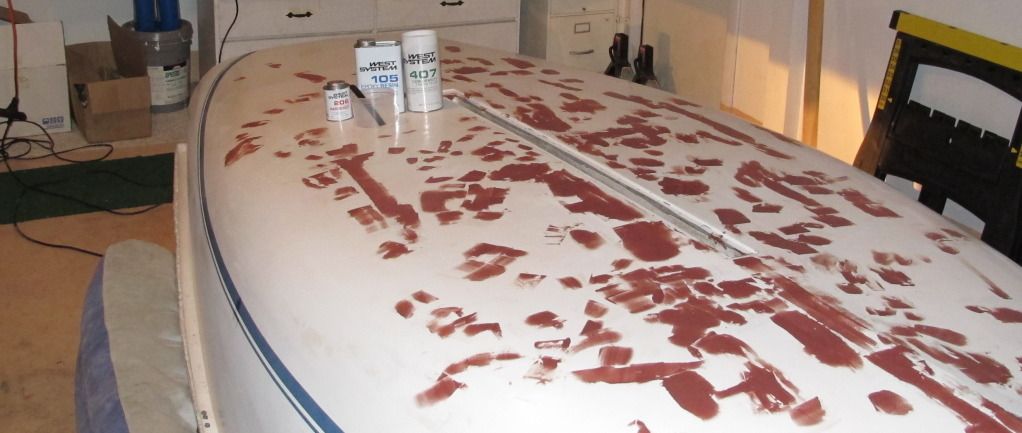
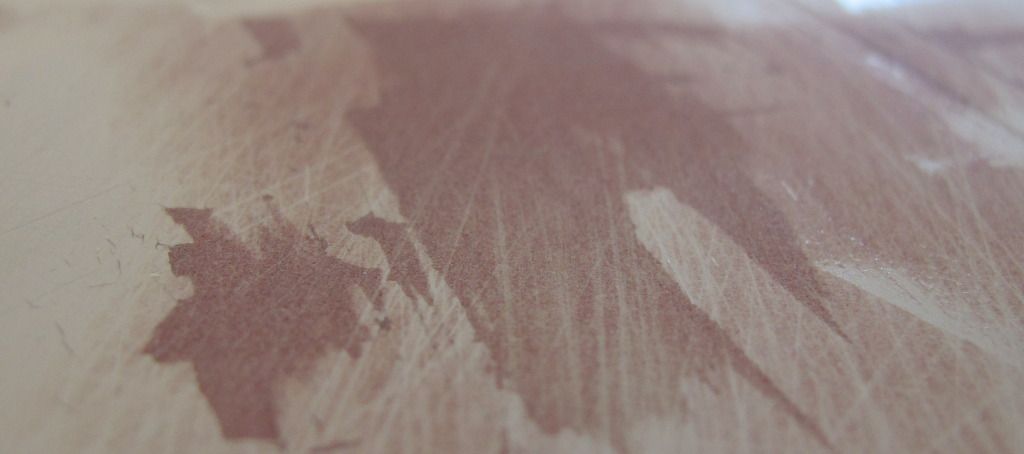
Late last night, I finished sanding. Now, application of the epoxy "barrier coat" is ready to start.
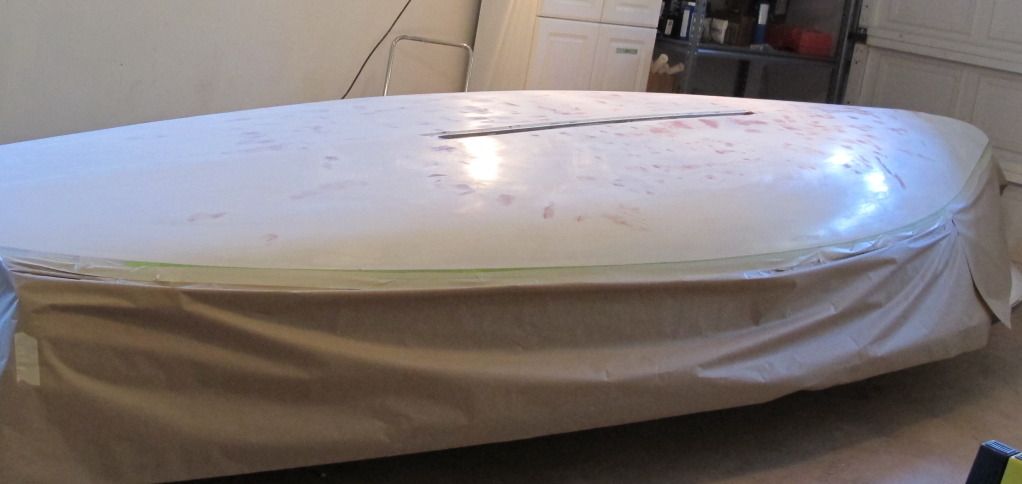 A typical paint chip that was filled and faired. The "key" is noticeable here; it's necessary for epoxy to form a strong grip.
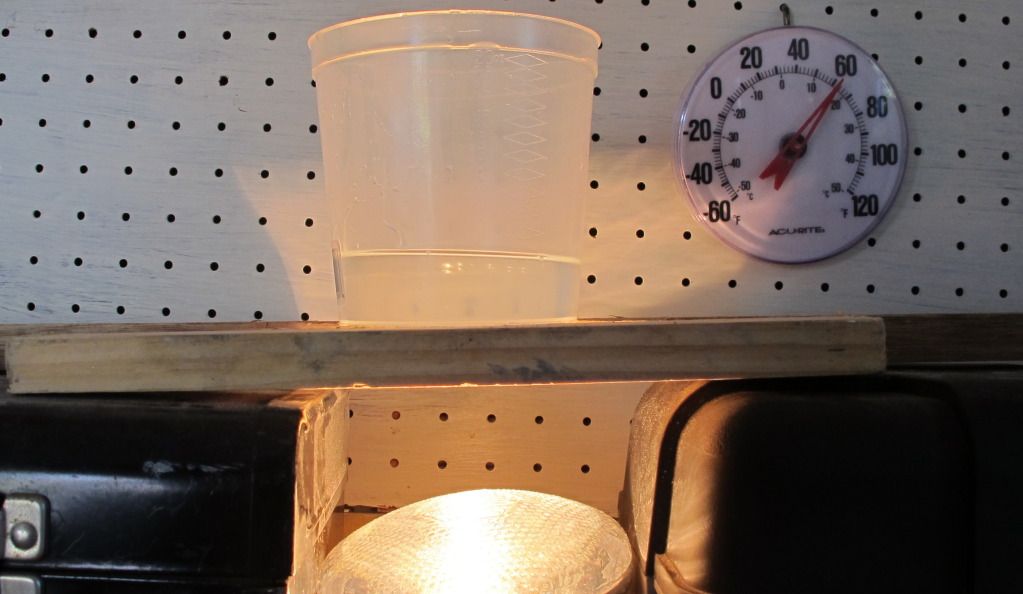
 Just about 62 degrees this morning. Had to warm the resin under this lamp. It took about 300mls to seal the hull (three times this much.)
Re: Coronado 15 project.
Posted: Tue Jan 01, 2013 8:51 pm
by TampaBay
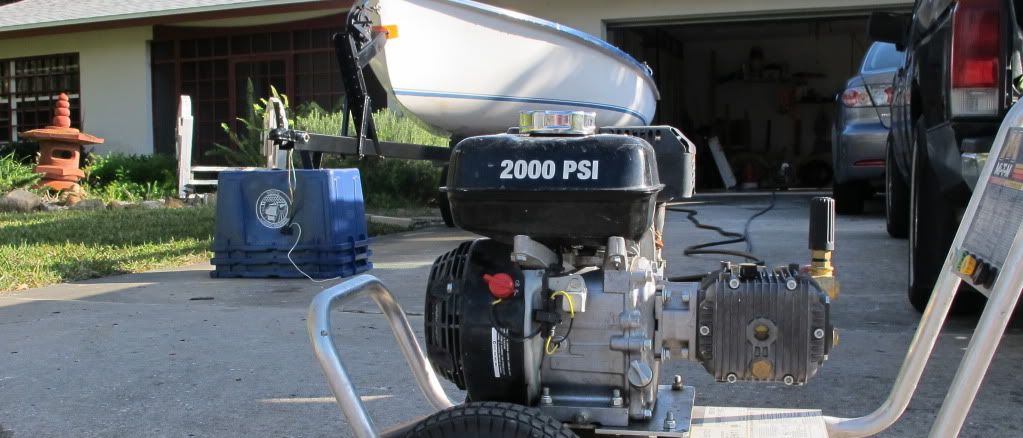
Today, I rented this baby from Home Depot. Got to have a clean deck (and also the patio and driveway.)
Re: Coronado 15 project.
Posted: Wed Jan 02, 2013 10:52 am
by TampaBay
Winch was treated, primed, and painted. A new winch line and a new poly bow stop.
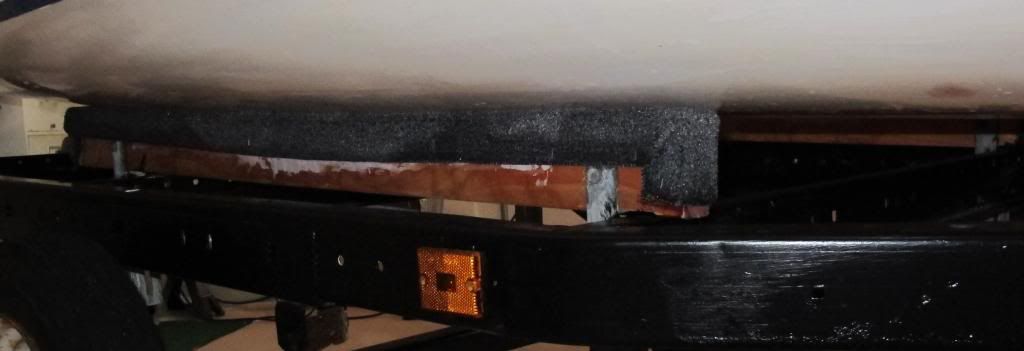
 Trailer bunks get new padding.
 Barney post reinstalled. I painted the post, but then had to sand it all off. (Note to self: Enamel under polyurethane varnish, NOT compatible.)
I'll repaint, and neaten up this area, for a future project.
Re: Coronado 15 project.
Posted: Thu Jan 03, 2013 6:58 pm
by TampaBay
My parent's gave me a Lowes gift card for Christmas, so today I went shopping and bought a 13/16th inch socket (for the wheels bolts,) and a can of silver paint (also for the wheels.)
Thank you Mom and Dad!
Re: Coronado 15 project.
Posted: Sat Jan 05, 2013 10:29 am
by TampaBay
Ten lug bolts, soaking in phosphoric acid.
 This job requires safety glasses and ear plugs.
Re: Coronado 15 project.
Posted: Sat Jan 05, 2013 5:05 pm
by TampaBay
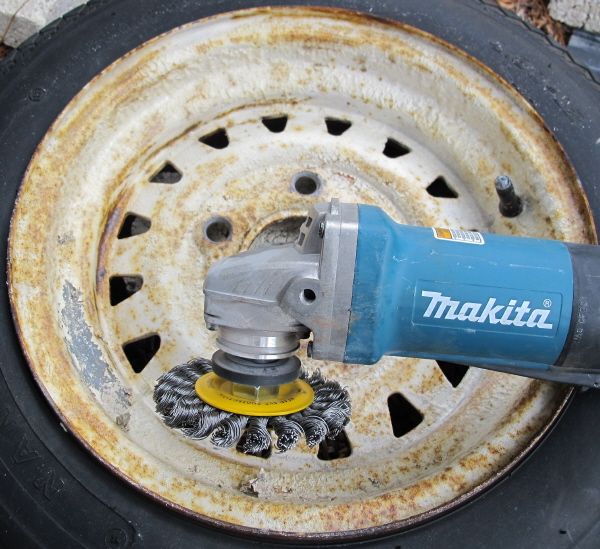
The steel was covered with paint remover the previous day, so the wire wheel had little trouble.
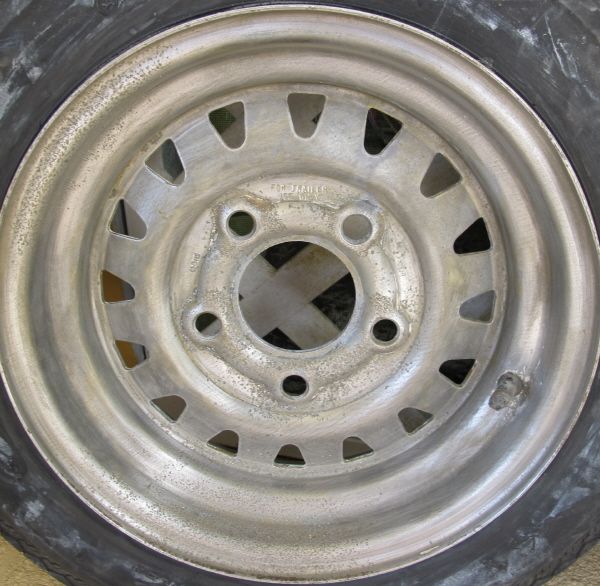
Clean metal.
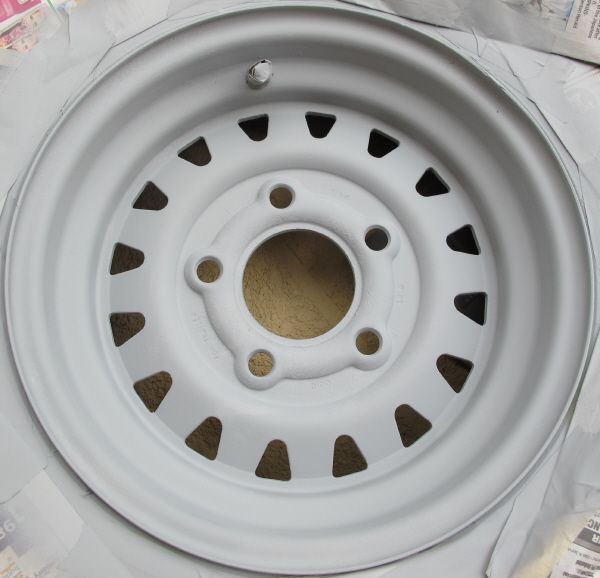
 First coat of primer.
Re: Coronado 15 project.
Posted: Sun Jan 06, 2013 5:58 pm
by earlylight
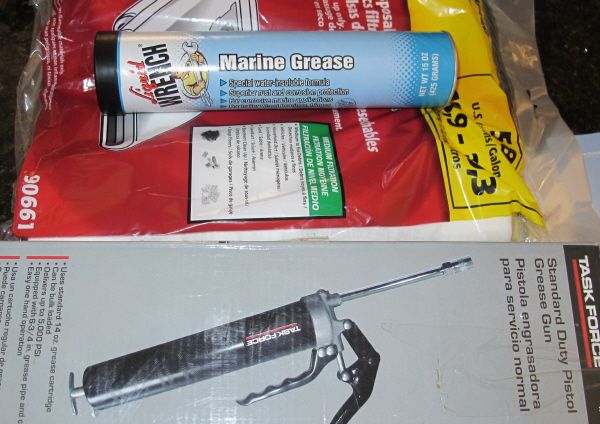
I have used the Liquid Wrench Marine Grease on mall boat trailers.....Good stuff!
That trailer is gonna look brand new when you are through. :-).
Re: Coronado 15 project.
Posted: Sun Jan 06, 2013 7:29 pm
by TampaBay
Thanks earlylight. Here is a bit more of today's project.
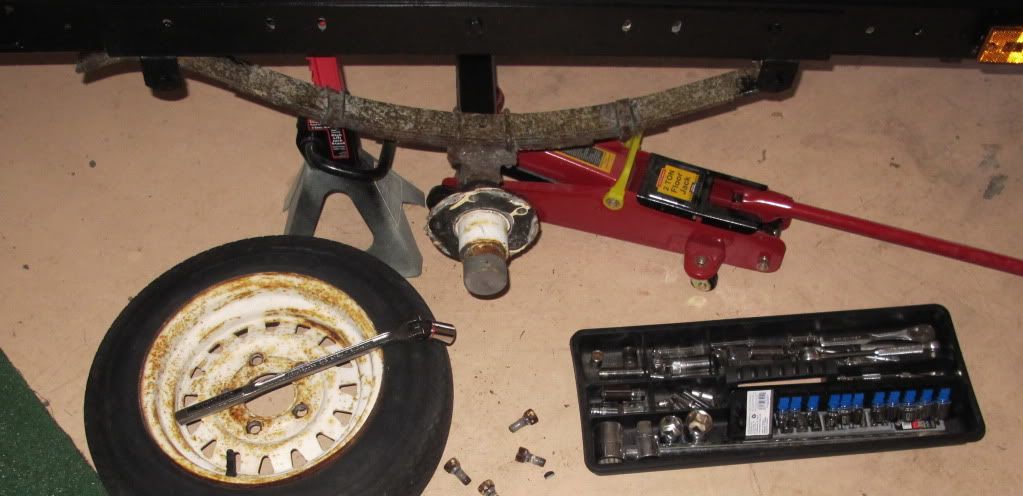
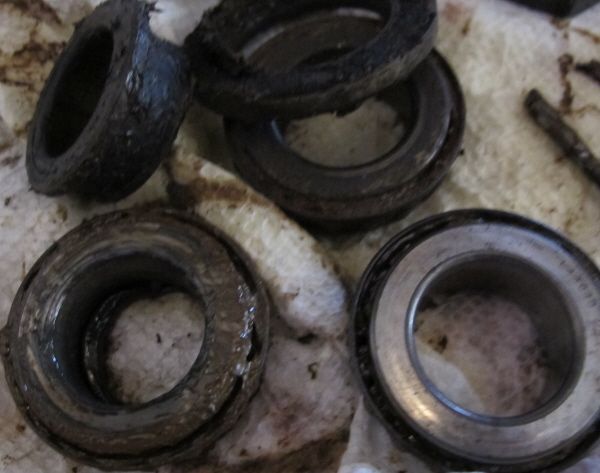
Both sets of bearings are complete toast.
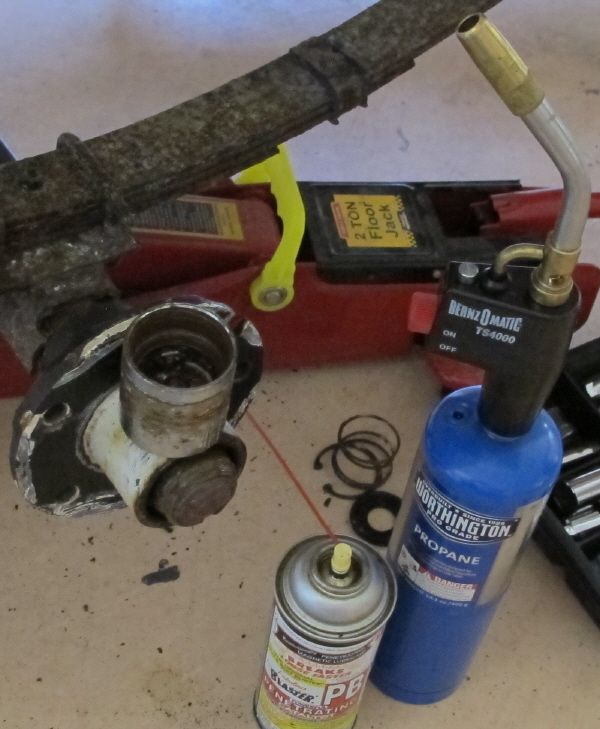
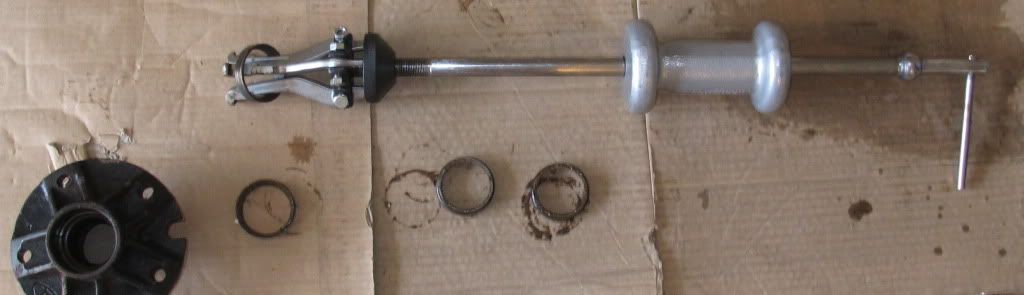
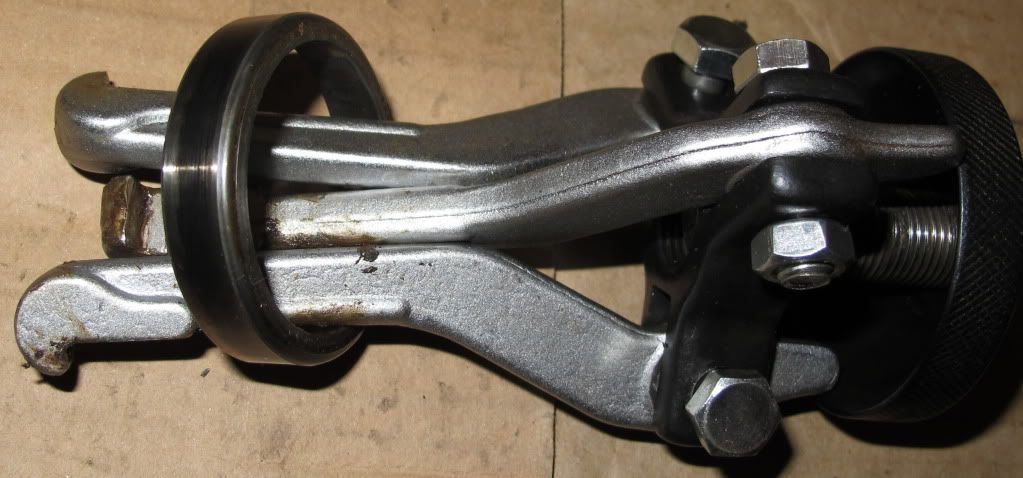
 Advance Auto Parts loaned me this massive gear puller. It made the project possible, but not easy.
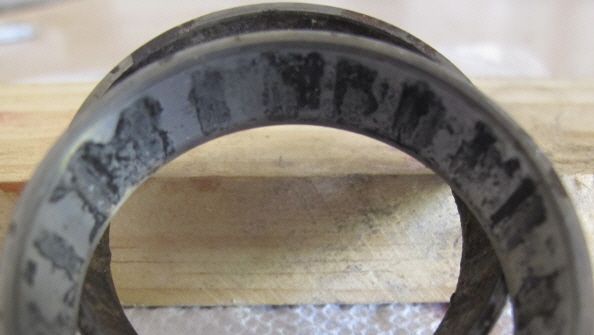
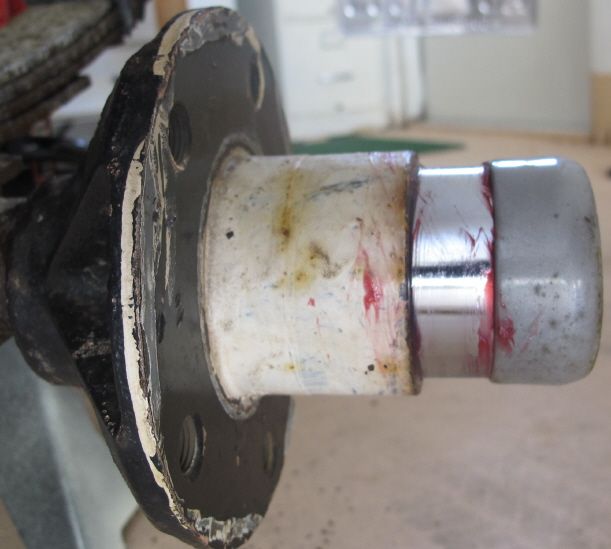
 This is a close up image of one of the races. Eventually, they relinquished their steely grip, but not without a fight.
Re: Coronado 15 project.
Posted: Wed Jan 09, 2013 9:36 pm
by TampaBay
This is what bad races look like.
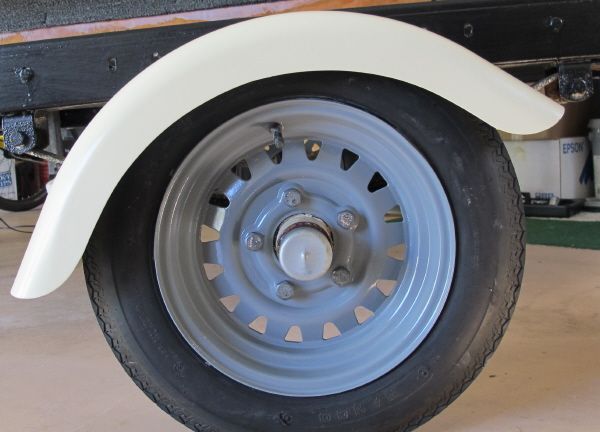
 New seals, races, and bearings are installed
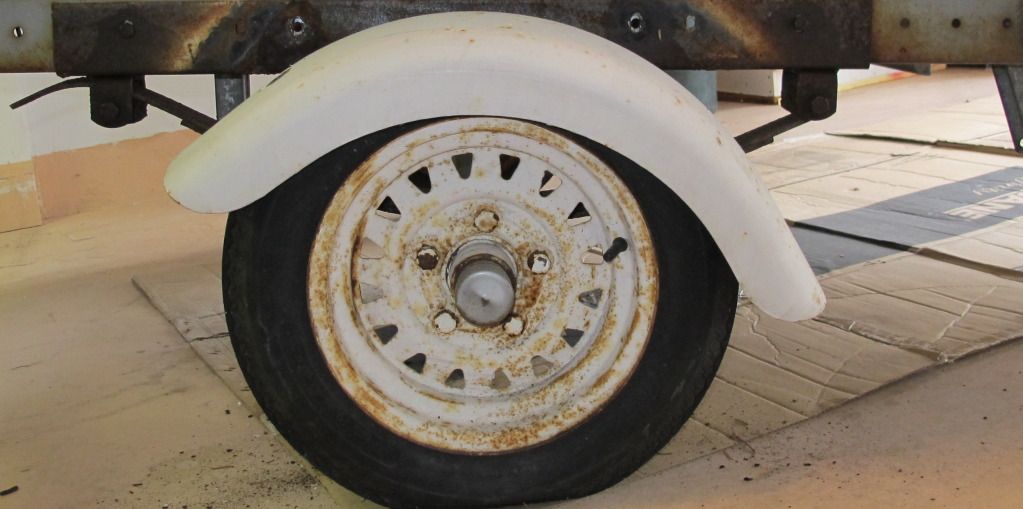
 The restored hub,wheel and fender.
Re: Coronado 15 project.
Posted: Thu Jan 10, 2013 7:51 pm
by TampaBay
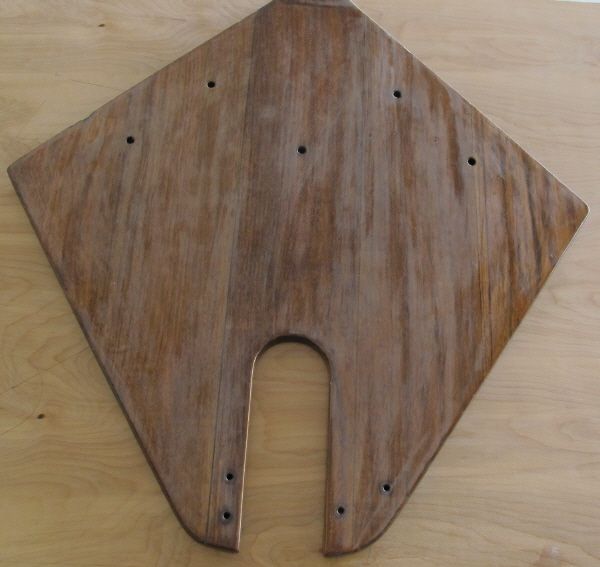
The last time I sailed, the mast partner was off the boat. That allowed the mast to flex more; and mast flex, flattens the main sail (de-powering it.) So, to increase power, I'm putting the partner back into the boat.
The original is teak. I don't want to see it break, so today I built a replacement from plywood.
I Used this original as a template.It looks scuffed up because it's prepped for varnish.
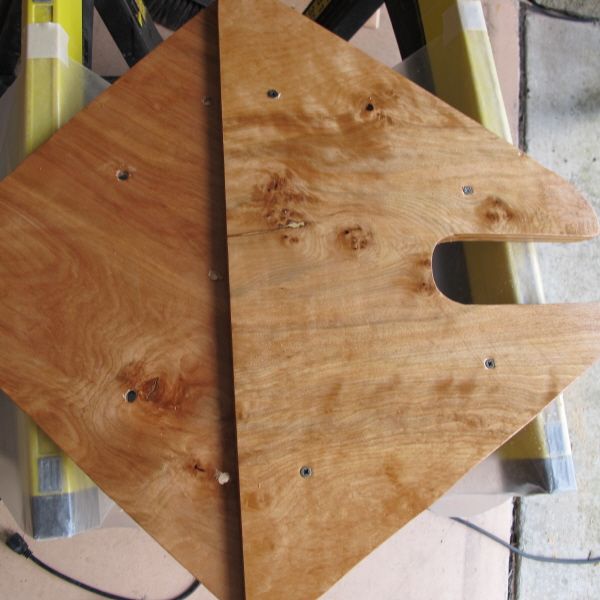
 The plywood around the mast slot is doubled.
 Coated with epoxy, and clamped with 4 screws.
Re: Coronado 15 project.
Posted: Fri Jan 11, 2013 11:16 am
by TampaBay
Note to self: You are going sailing tomorrow. So, do NOT start a new project.