The Plastic Classic Forum, your free and in-depth resource for information on re/building classic sailboats. ... Be sure to visit / join our sister site at sailFar.net! ... And don't forget to check out Atom's Virtual Home Port! ...
I wanted to share a method I have used as a temporary and sometimes permanant solution for the holes when deck hardware has been moved or removed.
Our boat has been upgraded to self tailing winches and we had not used the fixed cleats on the cockpit coaming since we bought the boat. The kids were banging heads on them so I figured it was time for them to go..
Here's what I did..
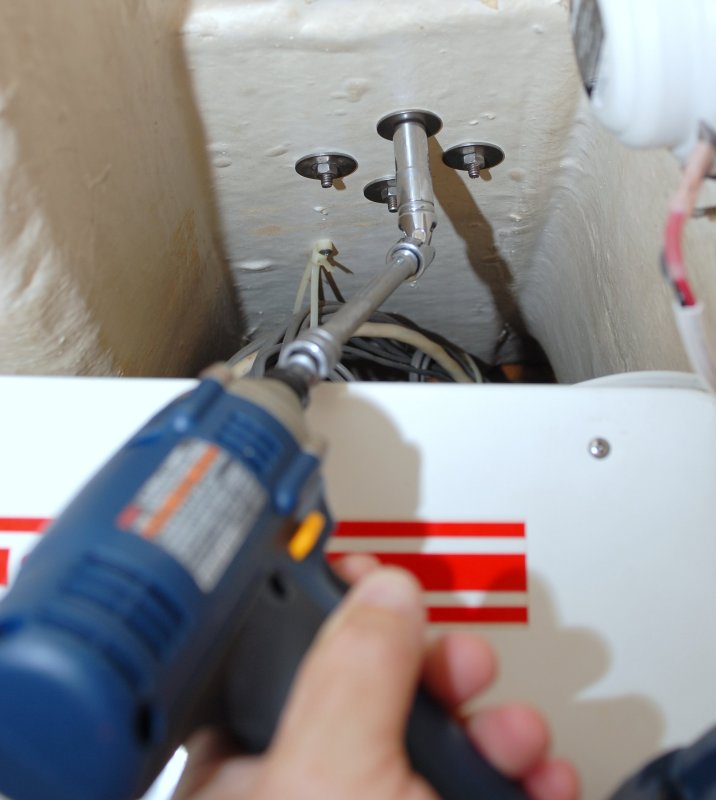
To make this an easy one person job I simply use my cordless impact wrench. This allows the nuts to be removed from one side only using no wrench or screw driver on deck.
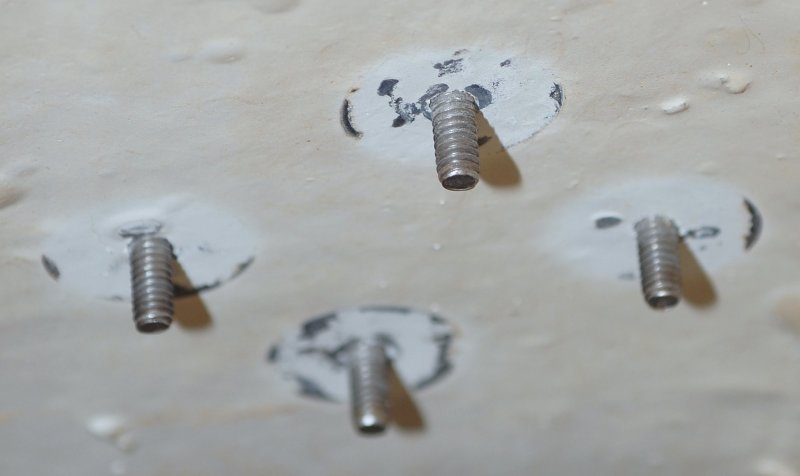
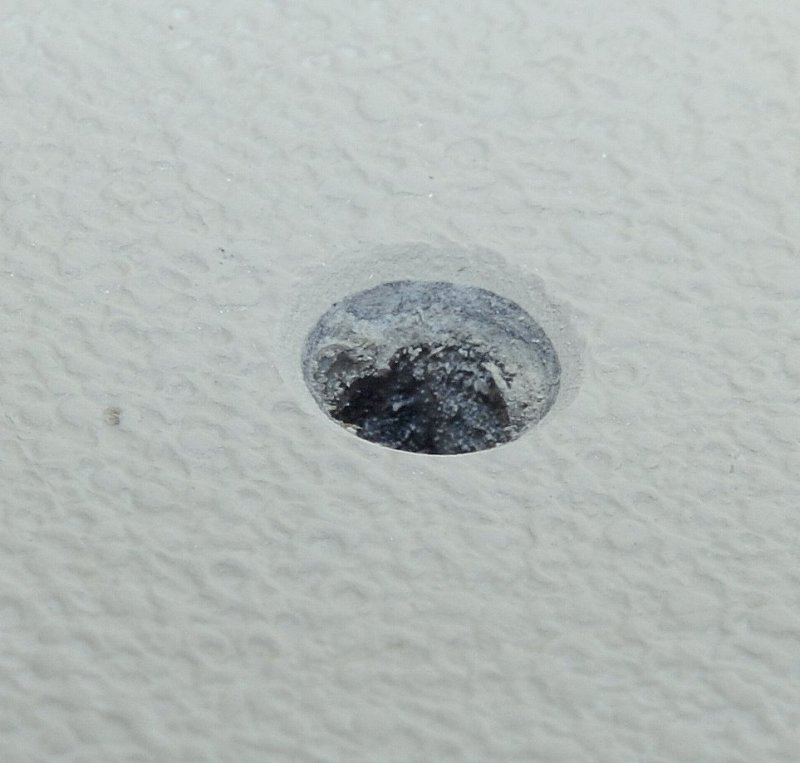
Less Than 30 seconds later and notice the absolute lack of rust or moisture. These cleats were still bone dry after 29 years!!!! Why? Butyl tape as a bedding compound!!
Yep still totally flexible and water proof after nearly 30 years! Oh and SUPER EASY TO REMOVE!! These cleats used to see decent loads, before the ST's so it's PROOF you don't need to GLUE mechanically fastened hardware onto your boat!!
For the butyl doubters and pro 5200 crowd I present 29 year old BONE DRY CORE!!
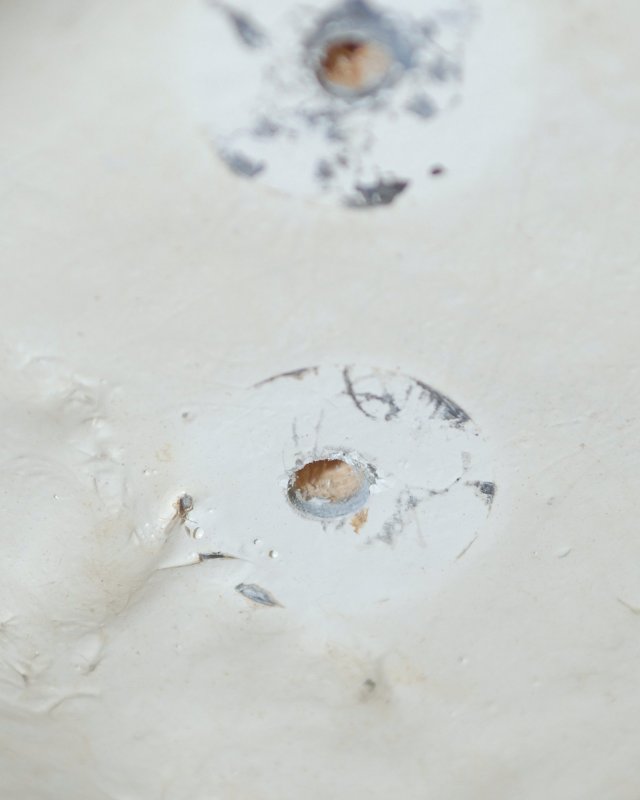
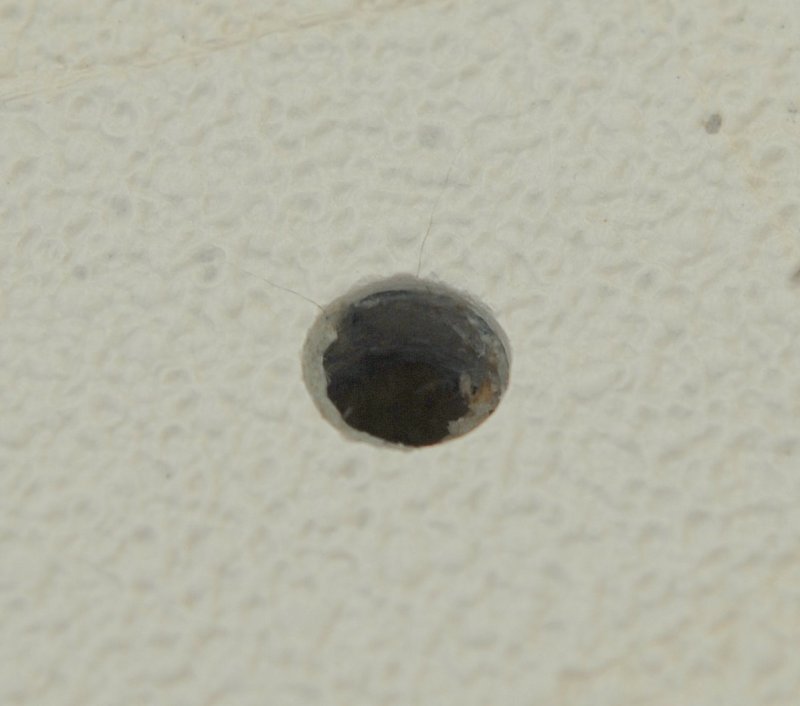
Spider crazing/cracking is caused by not feathering or beveling the edges of the hole drilled through gelcoat.
I countersunk each hole:
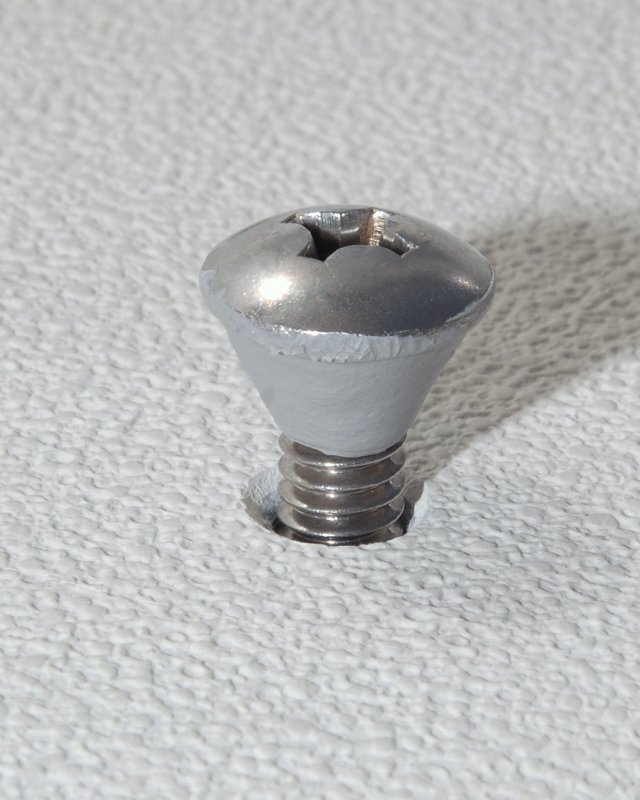
Choose a fastener to fill the hole? I prefer what are called Truss Head fasteners as there are less points for potential leakage and the head sits nice and low to the deck. The Truss Head is all the way to the left:
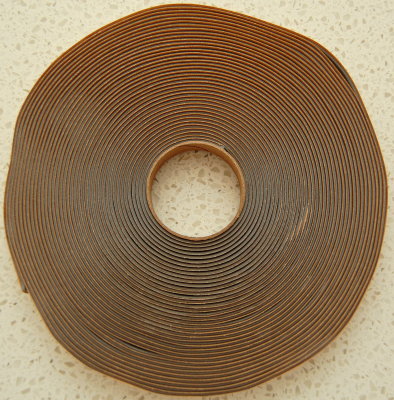
I used gray 1/2" wide by 1/16" thick butyl tape to install the fasteners used to hide the holes:
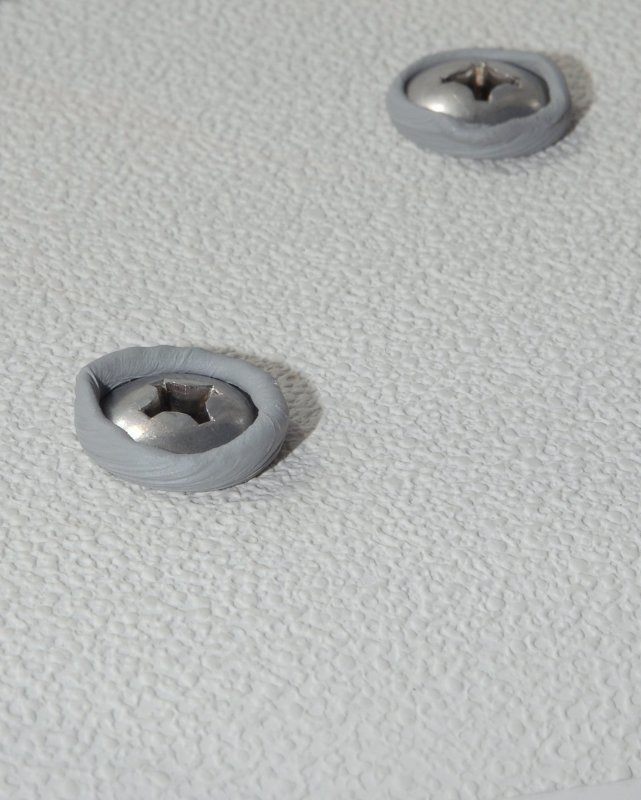
I wraped & mold the butyl into a cone so it fits down into the countersunk hole and gives a 100% seal:
Tighten everything down with the impact driver:
Where the cleat used to be and can be again. This is a lot easier than trying to match a gelcoat color and then create a non skid pattern that matches:
This project, removing two cleats and filling the holes with Truss Head machine screws, took me about a half hours total time including cleaning up the non skid with a Magic Eraser, paint thinner and some Acetone.
Just another option for a question I see here often..
So you are trusting a deck recore to a piece of butyl tape?
Clean core or not I would still overdrill, plug with thickened epoxy and redrill for the correct fastener. Then you can do whatever you want with the holes. - Like plug them and not redrill.
-Britton
Work is overrated.
Most everything you read on the Internet is wrong.
Yes for now I am trusting that hole to butyl tape!! It has worked flawlessly on my boat for the past 29 years with no leaks that I have found.
The cleats that were removed had been there since 1979!! Bone dry/butyl tape! When I get the inclination to drill and fill I will but NOW it's sailing season and projects like this will have to wait.. I've done this many times and use butyl tape for lots of bedding and never once have I had a leak using the bevel/countersink and butyl method. Sometimes I'll use 3M 101 or Sika 291 but usually I use butyl..
It's hard to find but worth it..
BTW my genny tracks are also bedded with butyl tape and they too are BONE dry even after 29 years of seeing high loads.. they go through solid glass so I would see a leak in a heart beat with no core to absorb the moisture..
Unfortunately I no longer have a local supplier for the flat butyl ribbon tape. Quite a few years ago I purchased a case of it from Portland Glass but they will no longer order it for me so now I get it on-line from RV stores like the one bellow.. http://www.mobilehomepartsstore.com/Mer ... ode=403311
Gasketing fasteners adequately is always the problem. As compared to a fitting, the fastener head is rather small so the sealing surface is as well. Normally, the fastener exerts its force on the fitting, spreading load. Using a flat or flared underside of the head bearing onto or into the 'glass means that it's quite easy to overload the 'glass. The flared shape is particularly bad since it tends to force the 'glass to crack. Tightening the gasketed fasteners both tends to overload the small bearing area under the head as well as squeezing the sealant out; butyl tape, butyl sealant, 5200, whatever. You need to have an adequate thickness of sealant to accomodate temperature and moisture related movement.
I bolted plexiglass ports into the Morgan 27 using oval headed bolts and acorn nuts. The plexi cracked at nearly every bolt. Too tight and not enough sealant thickness to ensure compliance! And I did not think at the time that I was too enthusiastic with the nut driver.
Butyl sealants and tape are tenacious and long lasting; well worth using, particularly when you want to get things apart. 38 year old butyl sealant on Quetzal's head components pulled apart and washed off with solvent; very little area was compromised by loss of adhesion. But the sealant is a real mess to use, even worse than 5200, and you can't paint it. The advantages of the butyl tape are two: not messy and normally maintains a thickness for compliance.
Quetzal's partners trim was fastened with 12 10-24 roundhead stainless bolts. The trim and bolts were bedded in something white and good; I could not get the trim off to rebed and the wood core was in perfect condition. I rebedded 7 bolts and replaced 5 others with Wichard eyebolts, bedding all with 5200. I really dislike it; I'd much prefer having gotten it apart, cleaned, coated the bores in epoxy, and then rebedded. Interestingly, the Wichard bolts are forged and are slightly flared under the heads; means that there's a nice space for sealant.